Estimated read time: 3 minutes
Writer TextBoxes provide the user with shapes that can have complex geometry and complex content. There is also a feature to capture shapes inside page boundaries: now the two features interact with each other better.
This work is primarily for Collabora Online, but the feature is available in desktop Writer as well.
Motivation
As described in a previous post, Writer implements the TextBox feature with a pair of objects: a Draw shape (with complex geometry) and a (hidden) Writer TextFrame, providing complex content. To avoid wrapping problems, the underlying TextFrame always has its wrap type set to "through", i.e. text may wrap around the Draw shape, but the hidden TextFrame is always ignored during text wrapping.
In most cases this provides the expected behavior, because the user sees one object, so wrapping around at most one object is not surprising.
However, there is also an other feature, that shapes may be captured inside page frames: if their position would be outside the page frame, Writer corrects this, so they are not off-page. This also makes sense, so it can't happen that your document has a shape that is hard to find, due to a silly position.
The trouble comes when these two are combined: the Draw shape's position gets adjusted to be captured inside the page frame, but the TextFrame's wrap type is "through", and objects with this wrap type are an exception from the capturing mechanism, so the position of the two shapes get out of sync.
Results so far
The problem is now solved by improving the layout, so in case the TextFrame is actually part of a Draw shape + TextFrame pair (forming a TextBox), then we calculate the effective wrap type of the TextFrame based on the wrap type of its Draw shape, so either both objects are captured or none, which results in consistent render result.
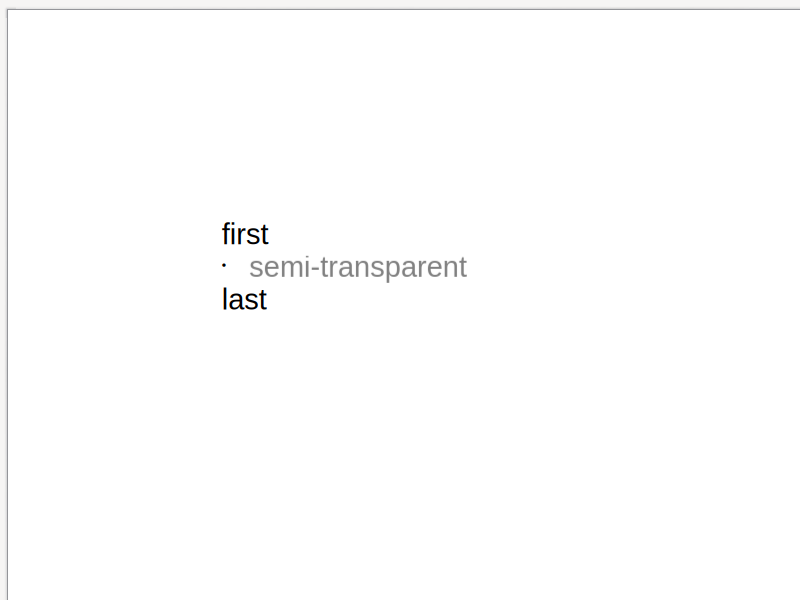
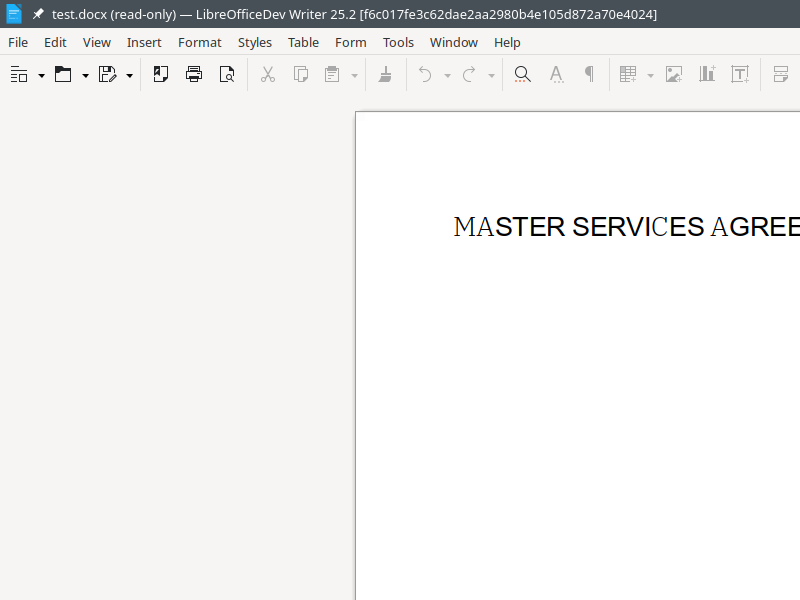
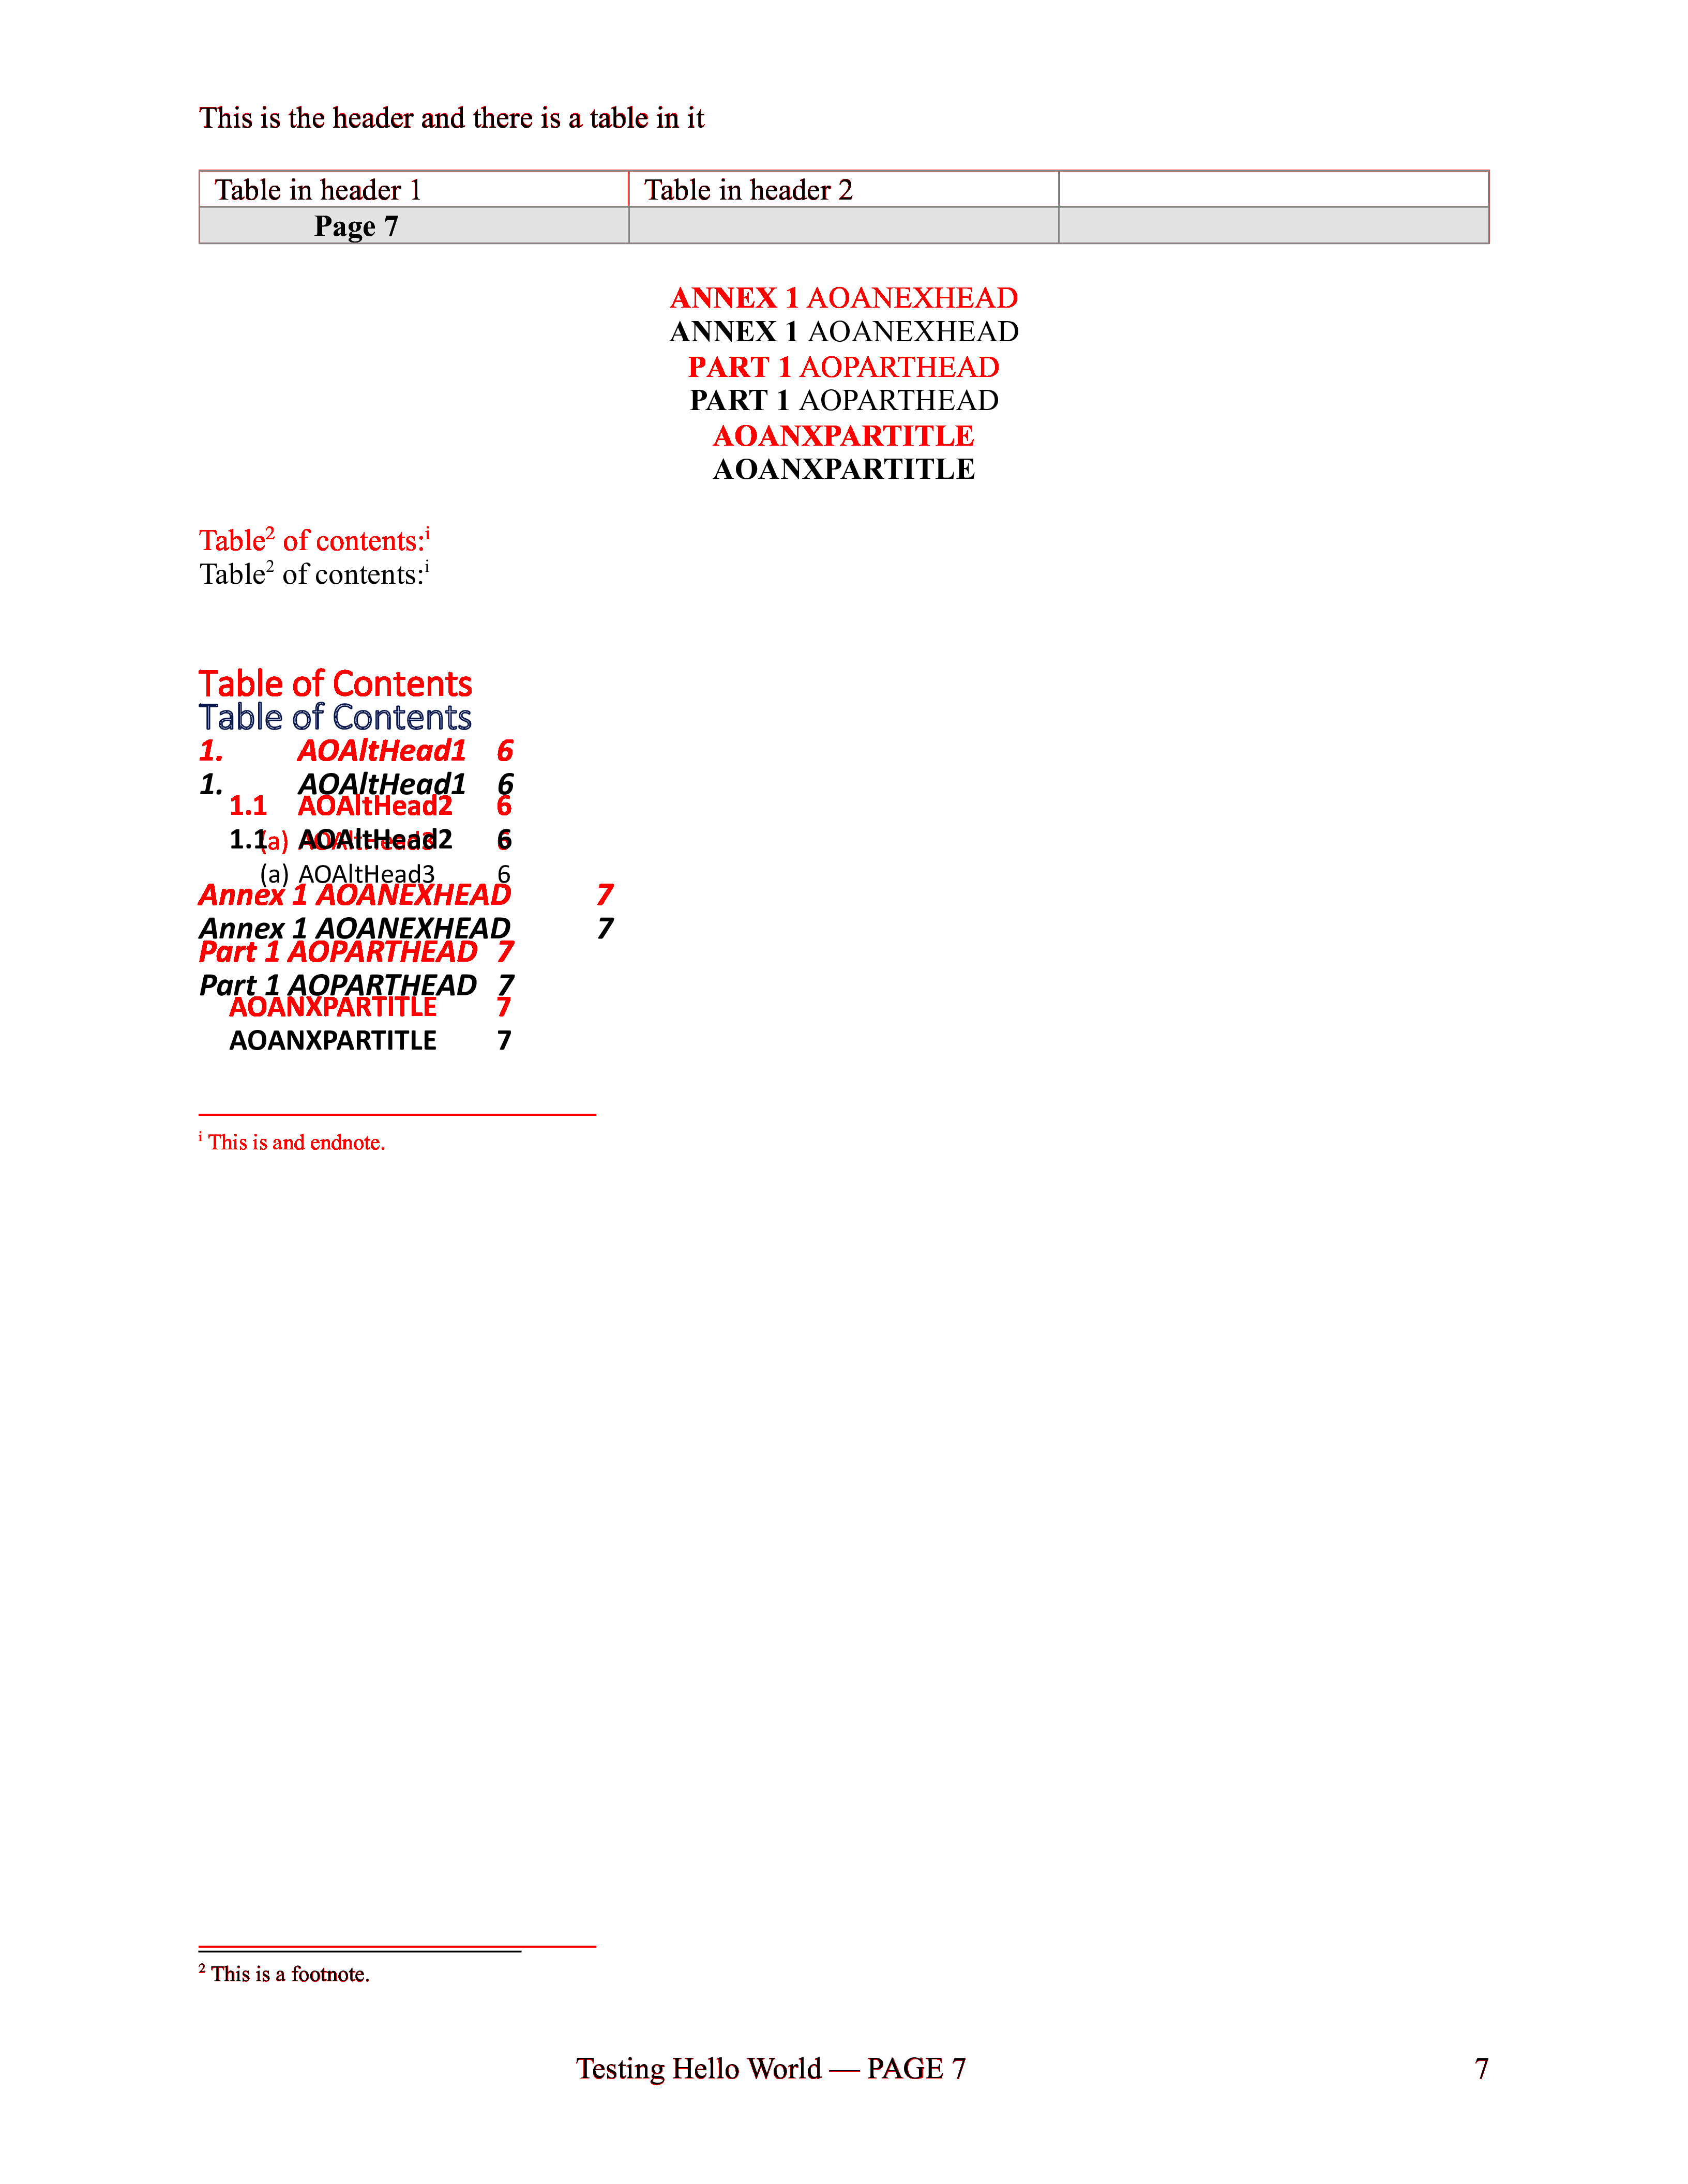
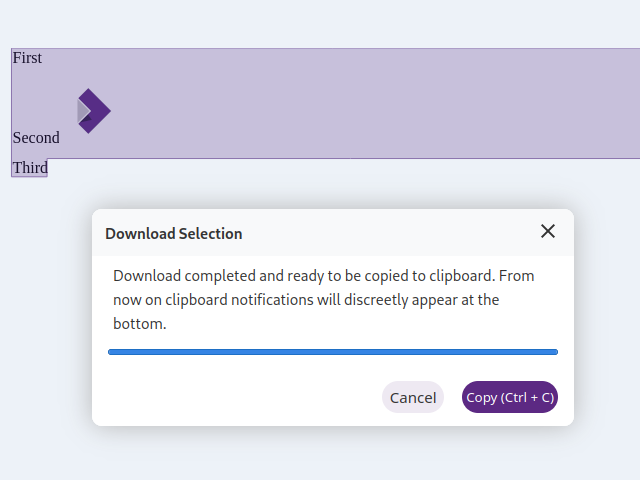
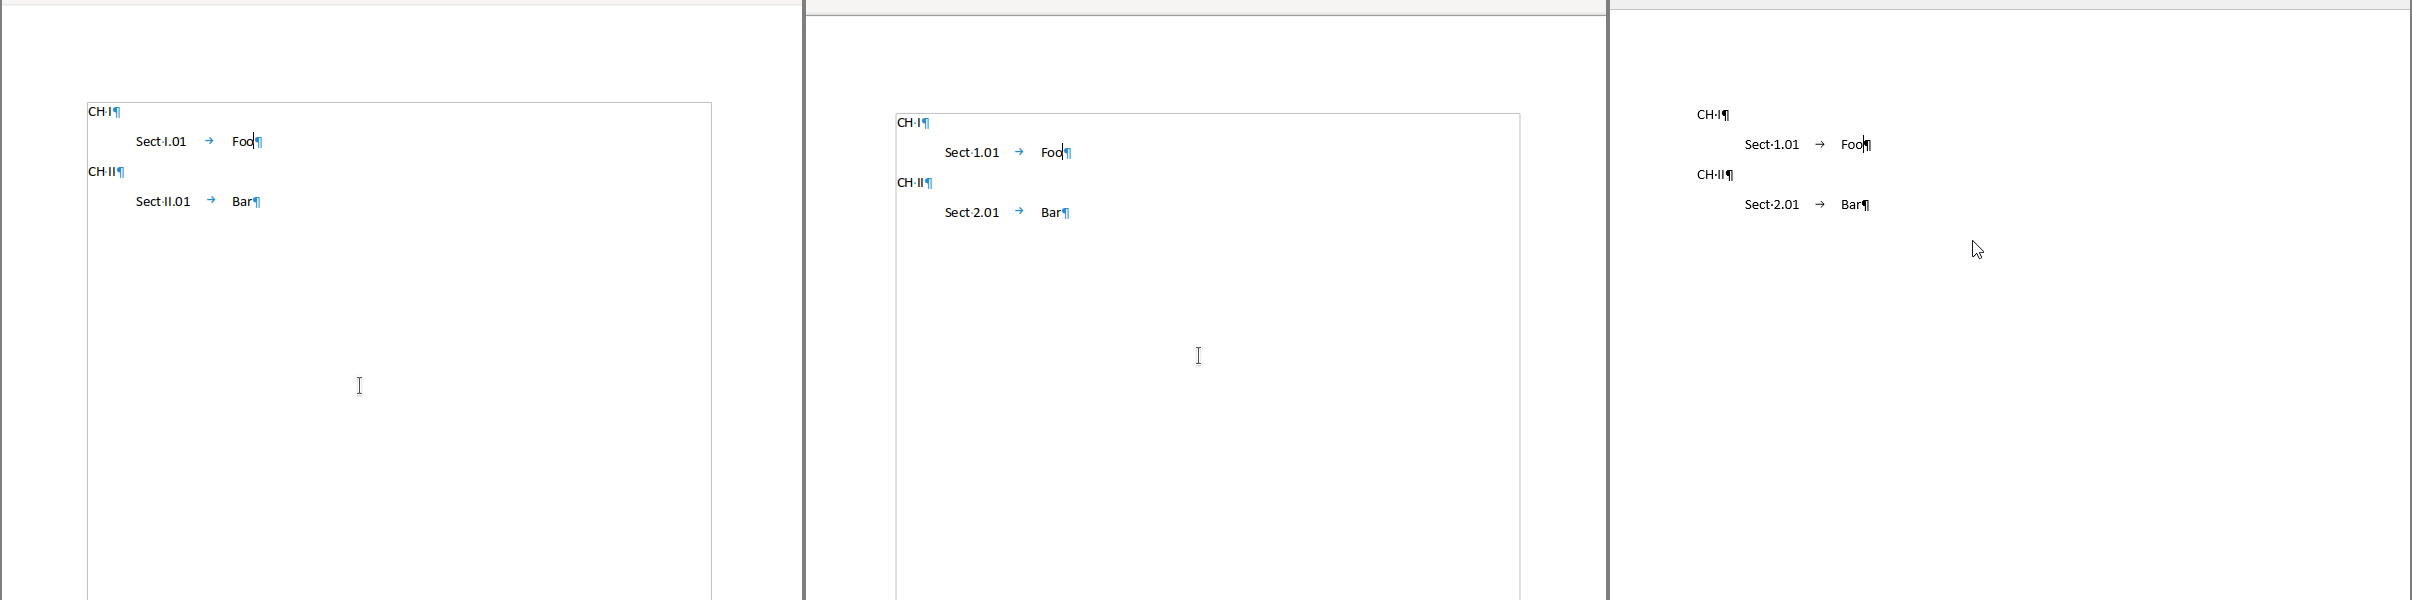
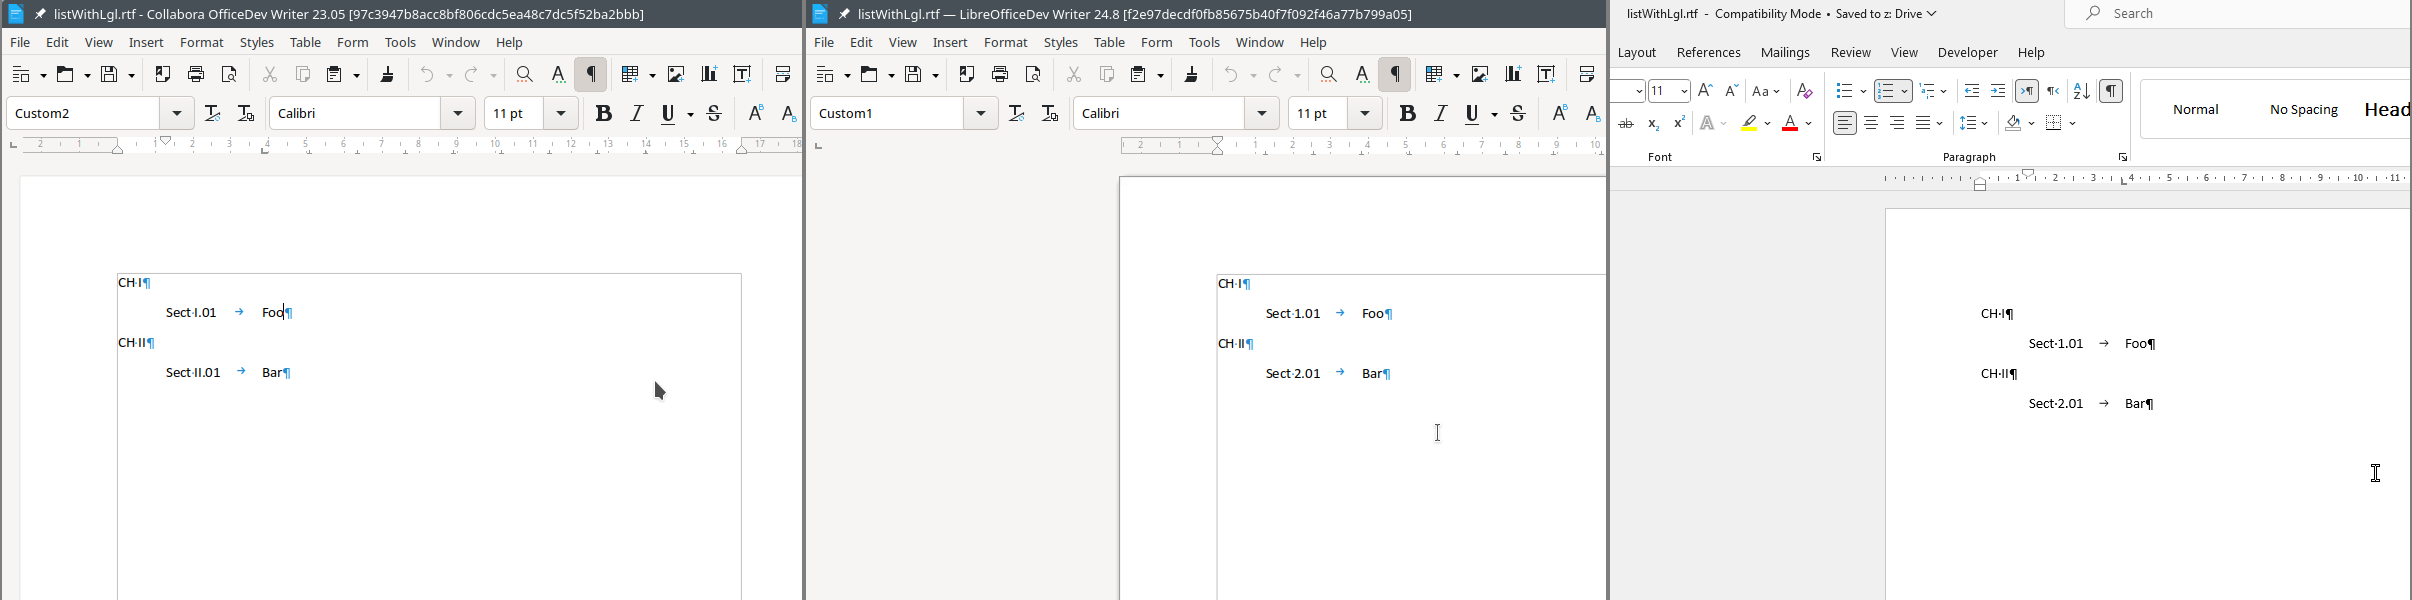
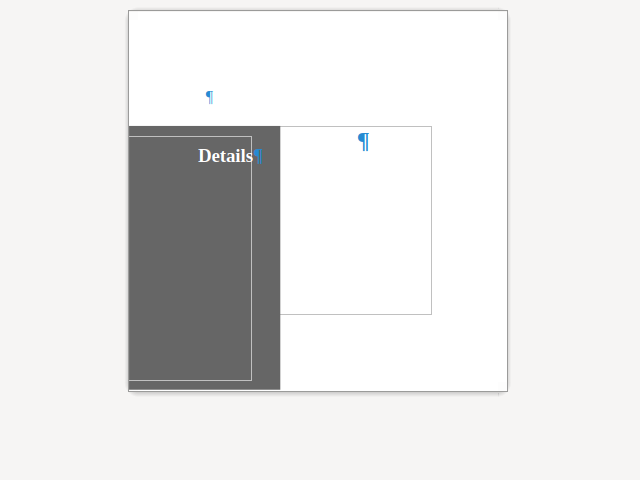
Here is a sample document where all margins are configured to be equal, but capturing corrected the Draw shape (and not the TextFrame):
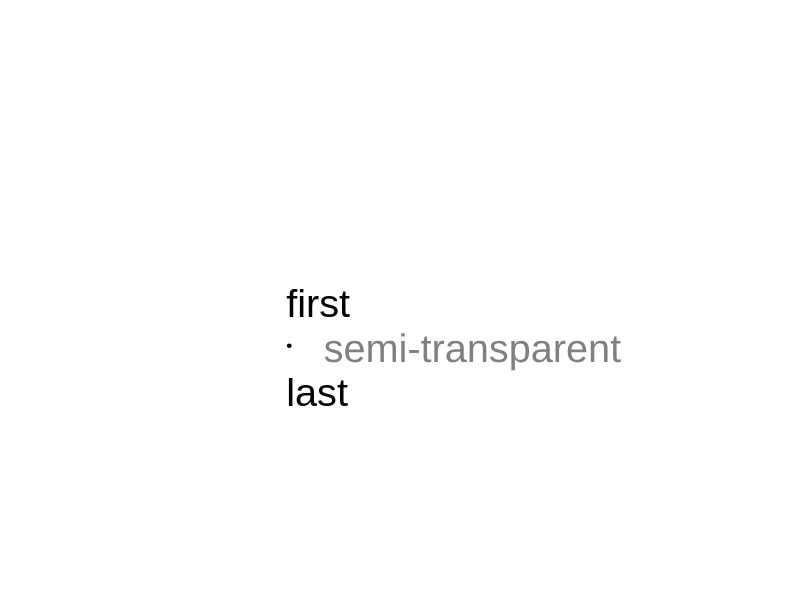
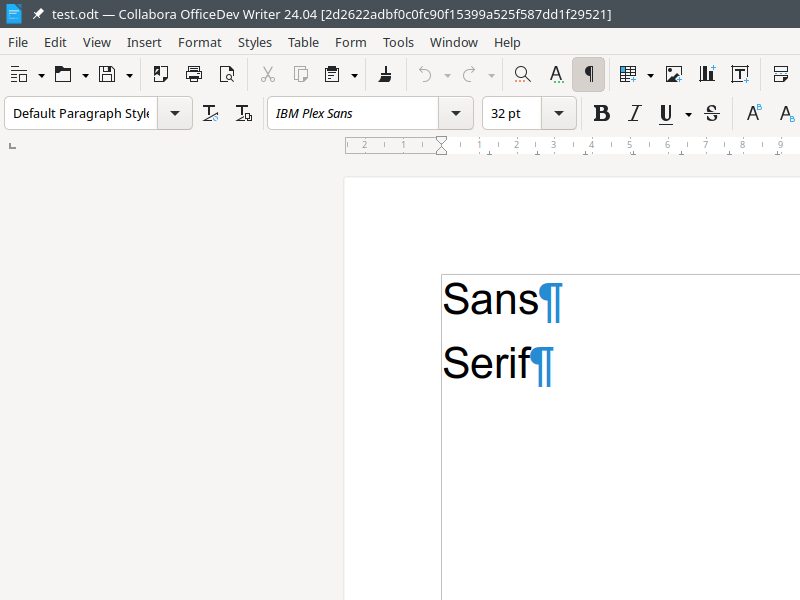
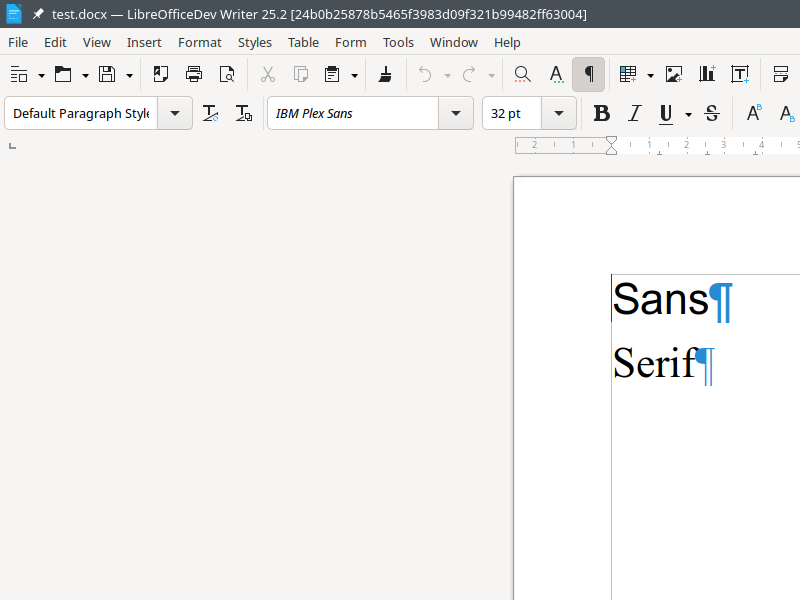
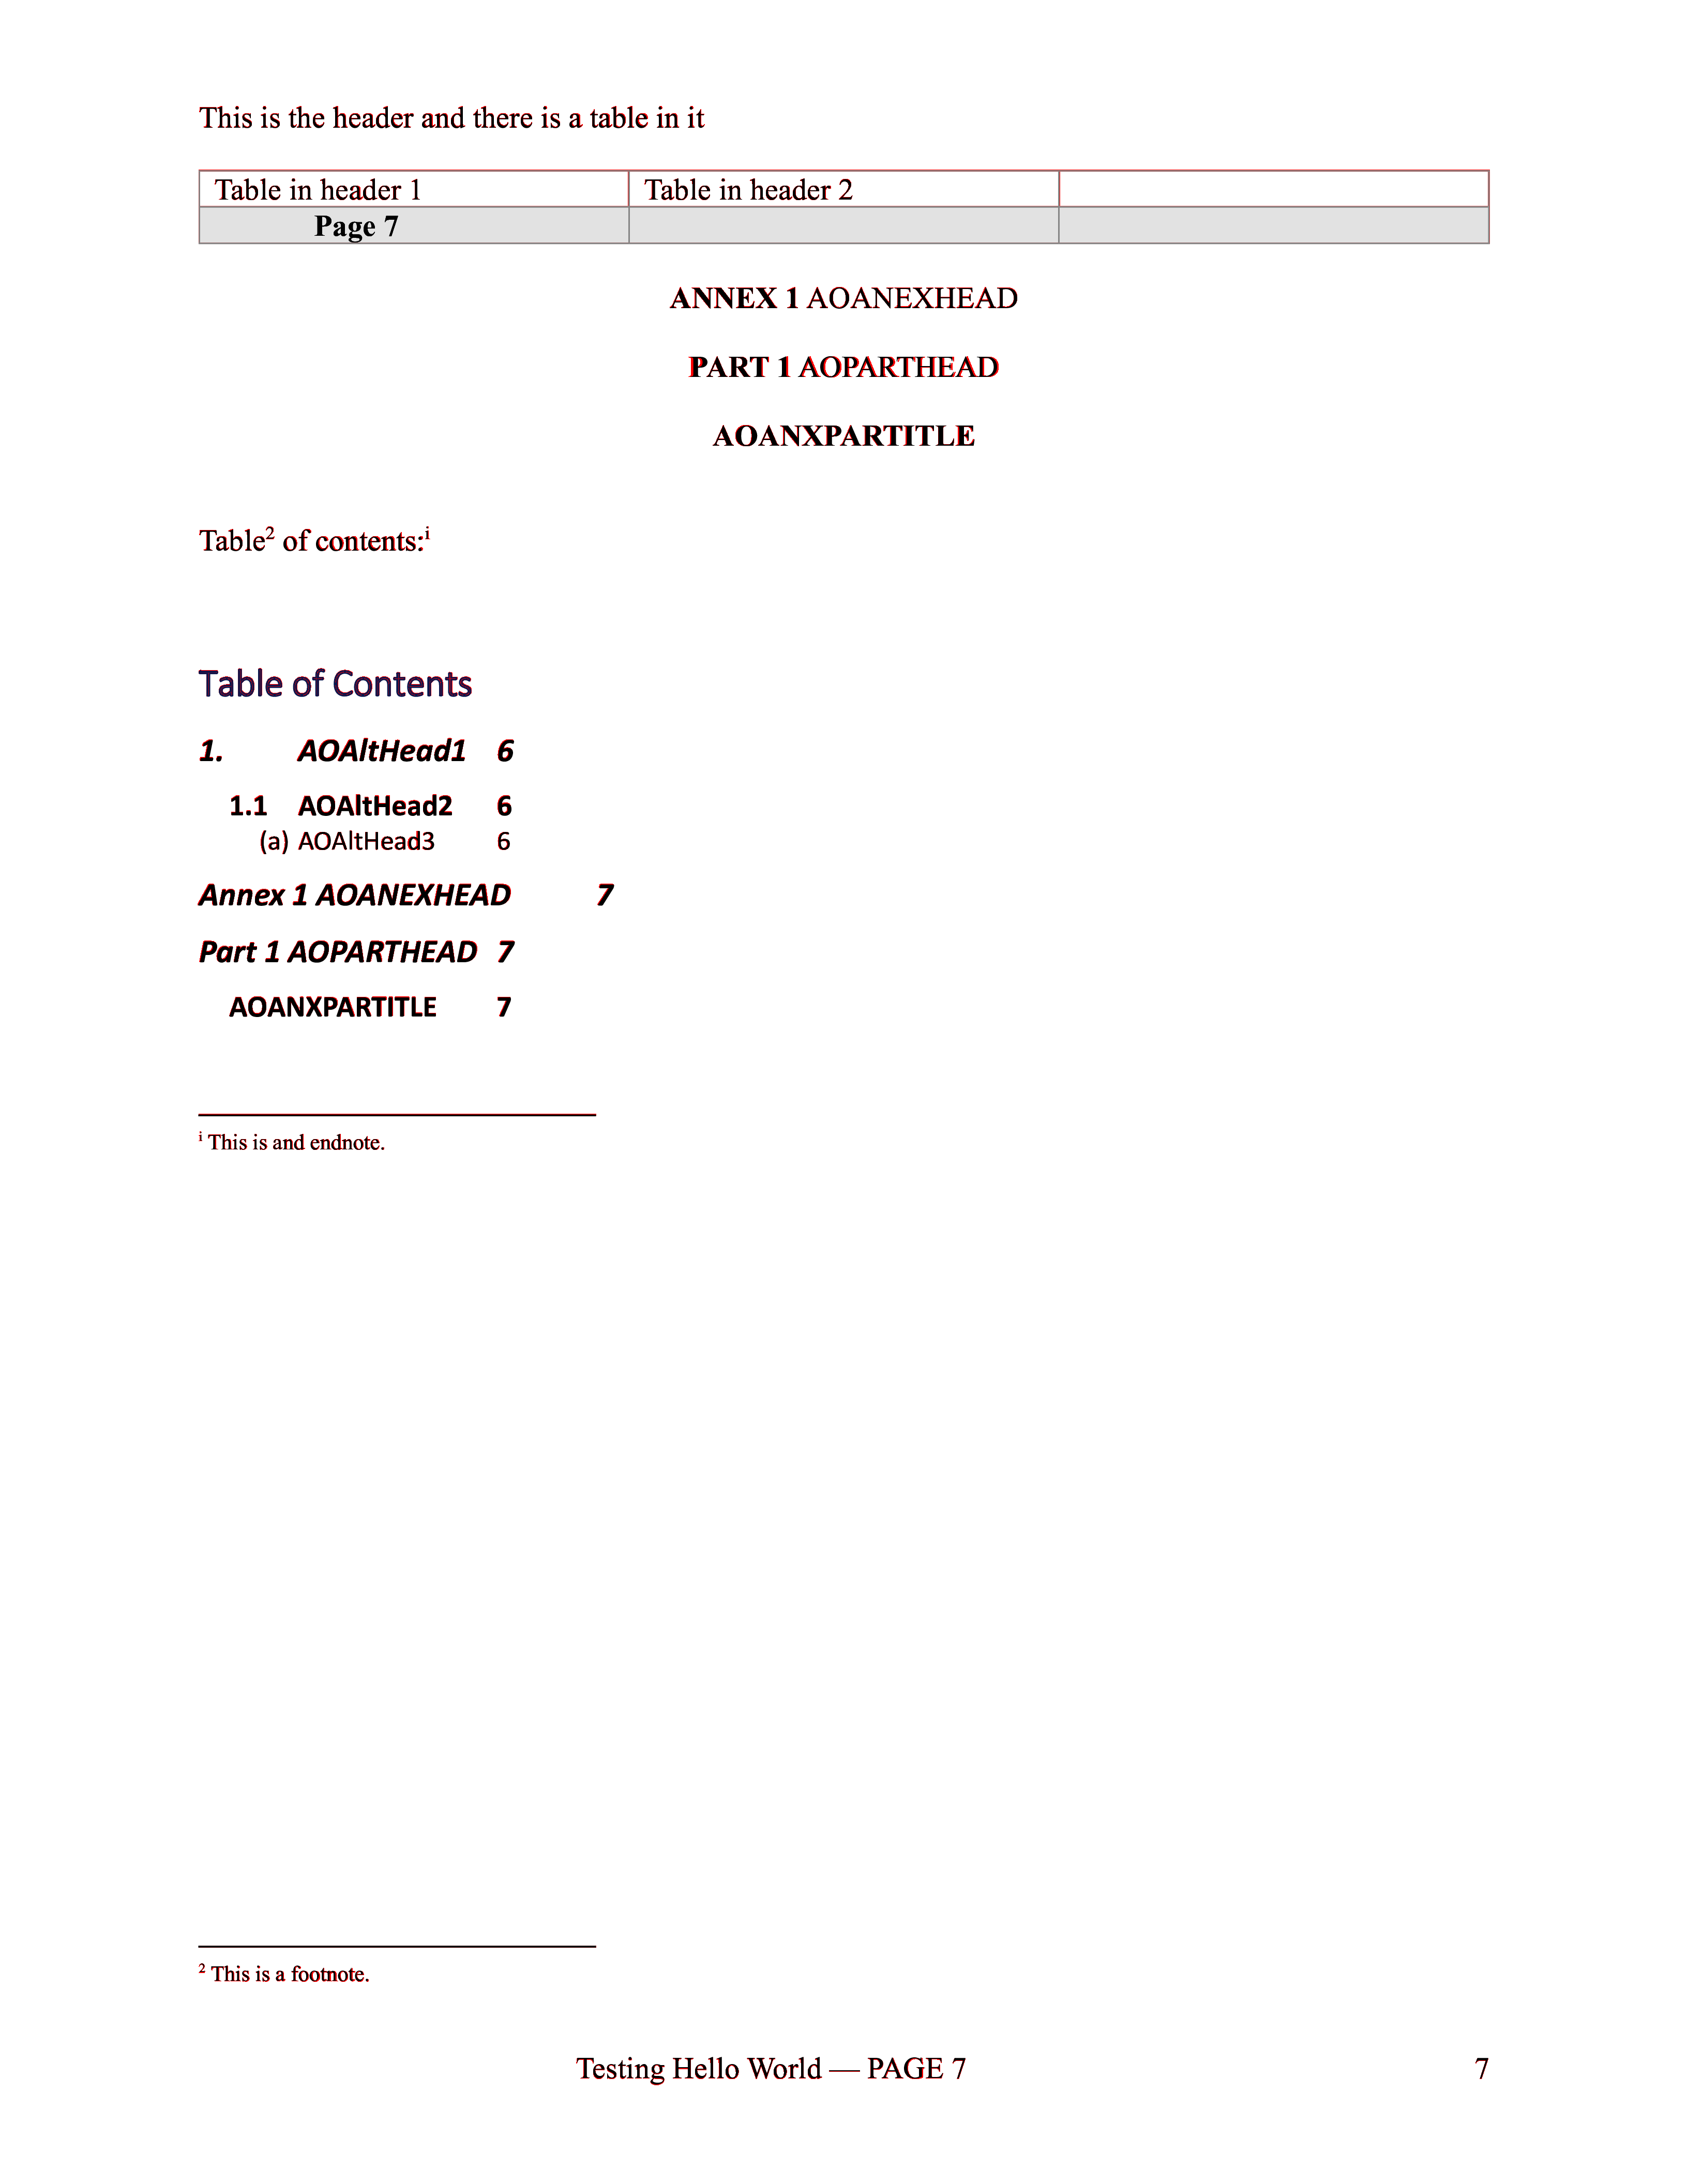
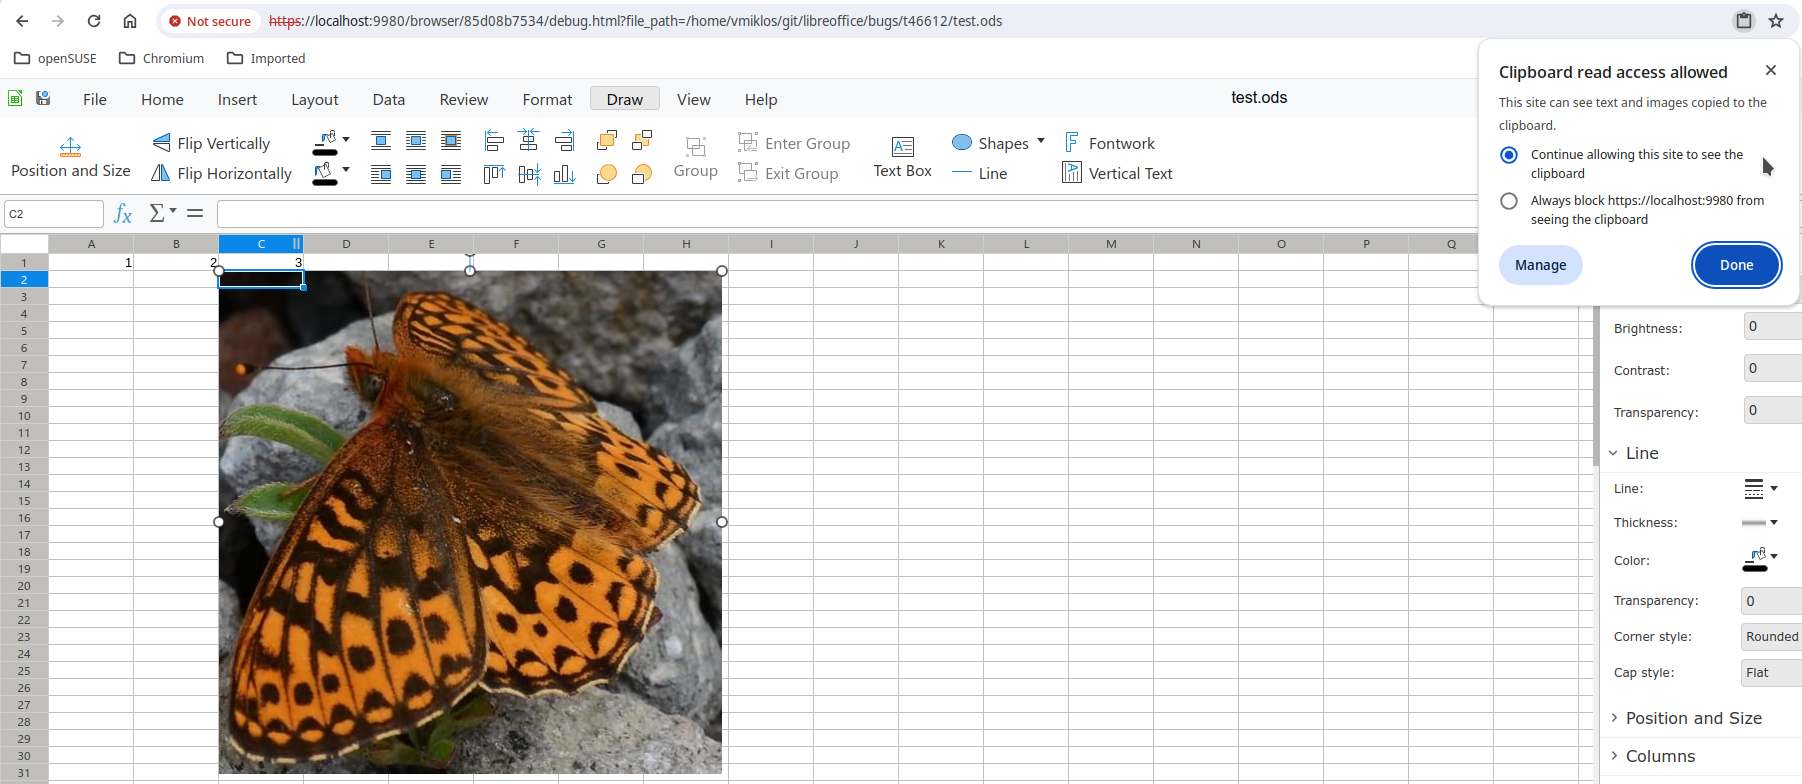
And here is the same document, with consistent positioning:
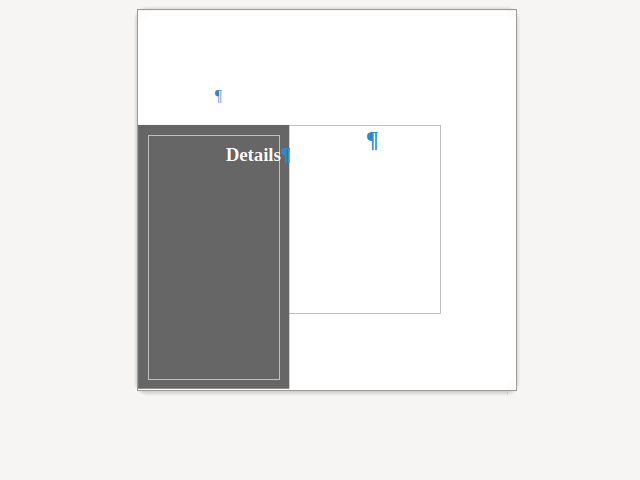
As you can see, now the rendered margins actually equal, as wanted.
How is this implemented?
If you would like to know a bit more about how this works, continue reading... :-)
The bugfix commit was sw textbox: capture fly when its draw object is captured.
The tracking bug was tdf#138711.
Want to start using this?
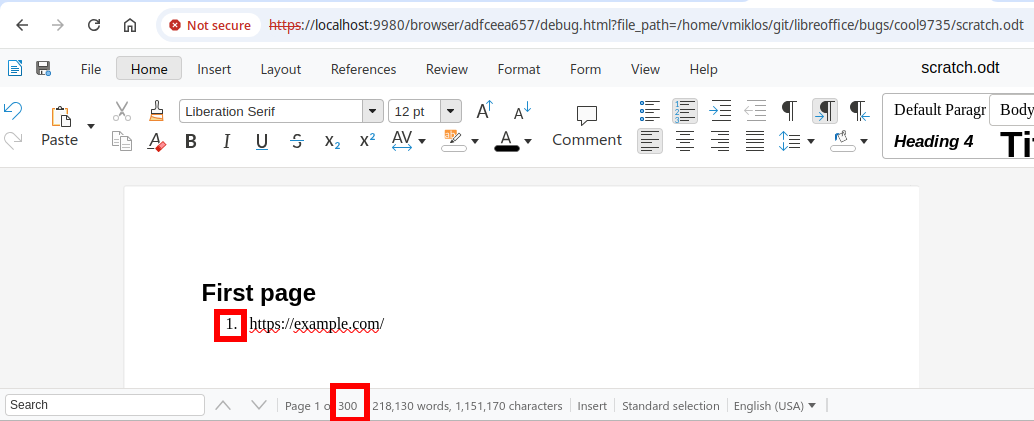
You can get a development edition of Collabora Online 24.04 and try it out yourself right now: try the development edition. Collabora intends to continue supporting and contributing to LibreOffice, the code is merged so we expect all of this work will be available in TDF's next release too (25.2).