Estimated read time: 2 minutes
The SVG export in Impress now supports a per-paragraph setting to handle semi-transparent shape text, while previously this was only possible to control at a per-shape level.
This work is primarily for Collabora Online, but the feature is available in desktop Impress as well.
Motivation
As described in a previous post, Impress already had the capability to have semi-transparent shape text, but the SVG export of this for the case when not all paragraphs have the same setting was broken.
Transparency in SVG can be described as a property of a group (<g style="opacity: 0.5">...</g>)
and it can be also a property of the text (<tspan fill-opacity="0.5">...</tspan>).
The SVG export works with the metafile of the shape, so when looking for meta actions, it tries to
guess if the transparency will be for text: if so, it needs to use the tspan markup, otherwise
going with the g markup is OK.
What happened here is that meta action for a normal text started, so the SVG export assumed the text is not semi-transparent, but later the second line was still transparent, so we started a group element, and this resulted in a not even well-formed XML output.
Results so far
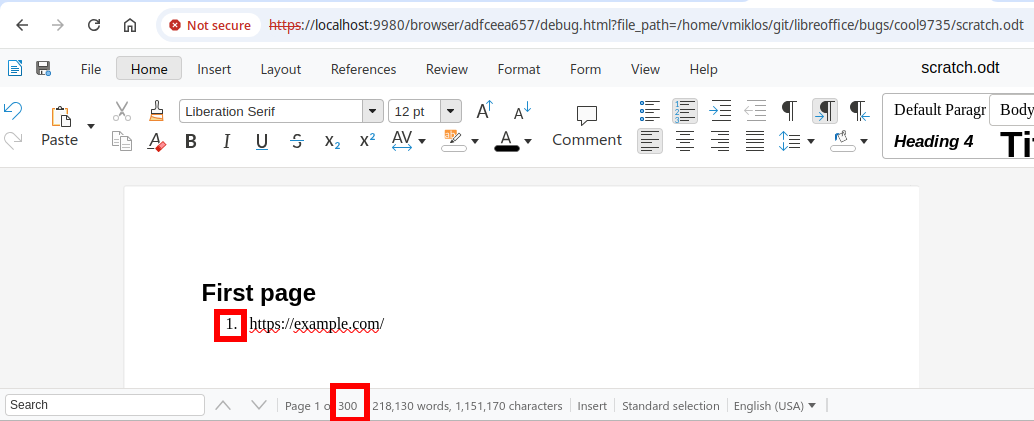
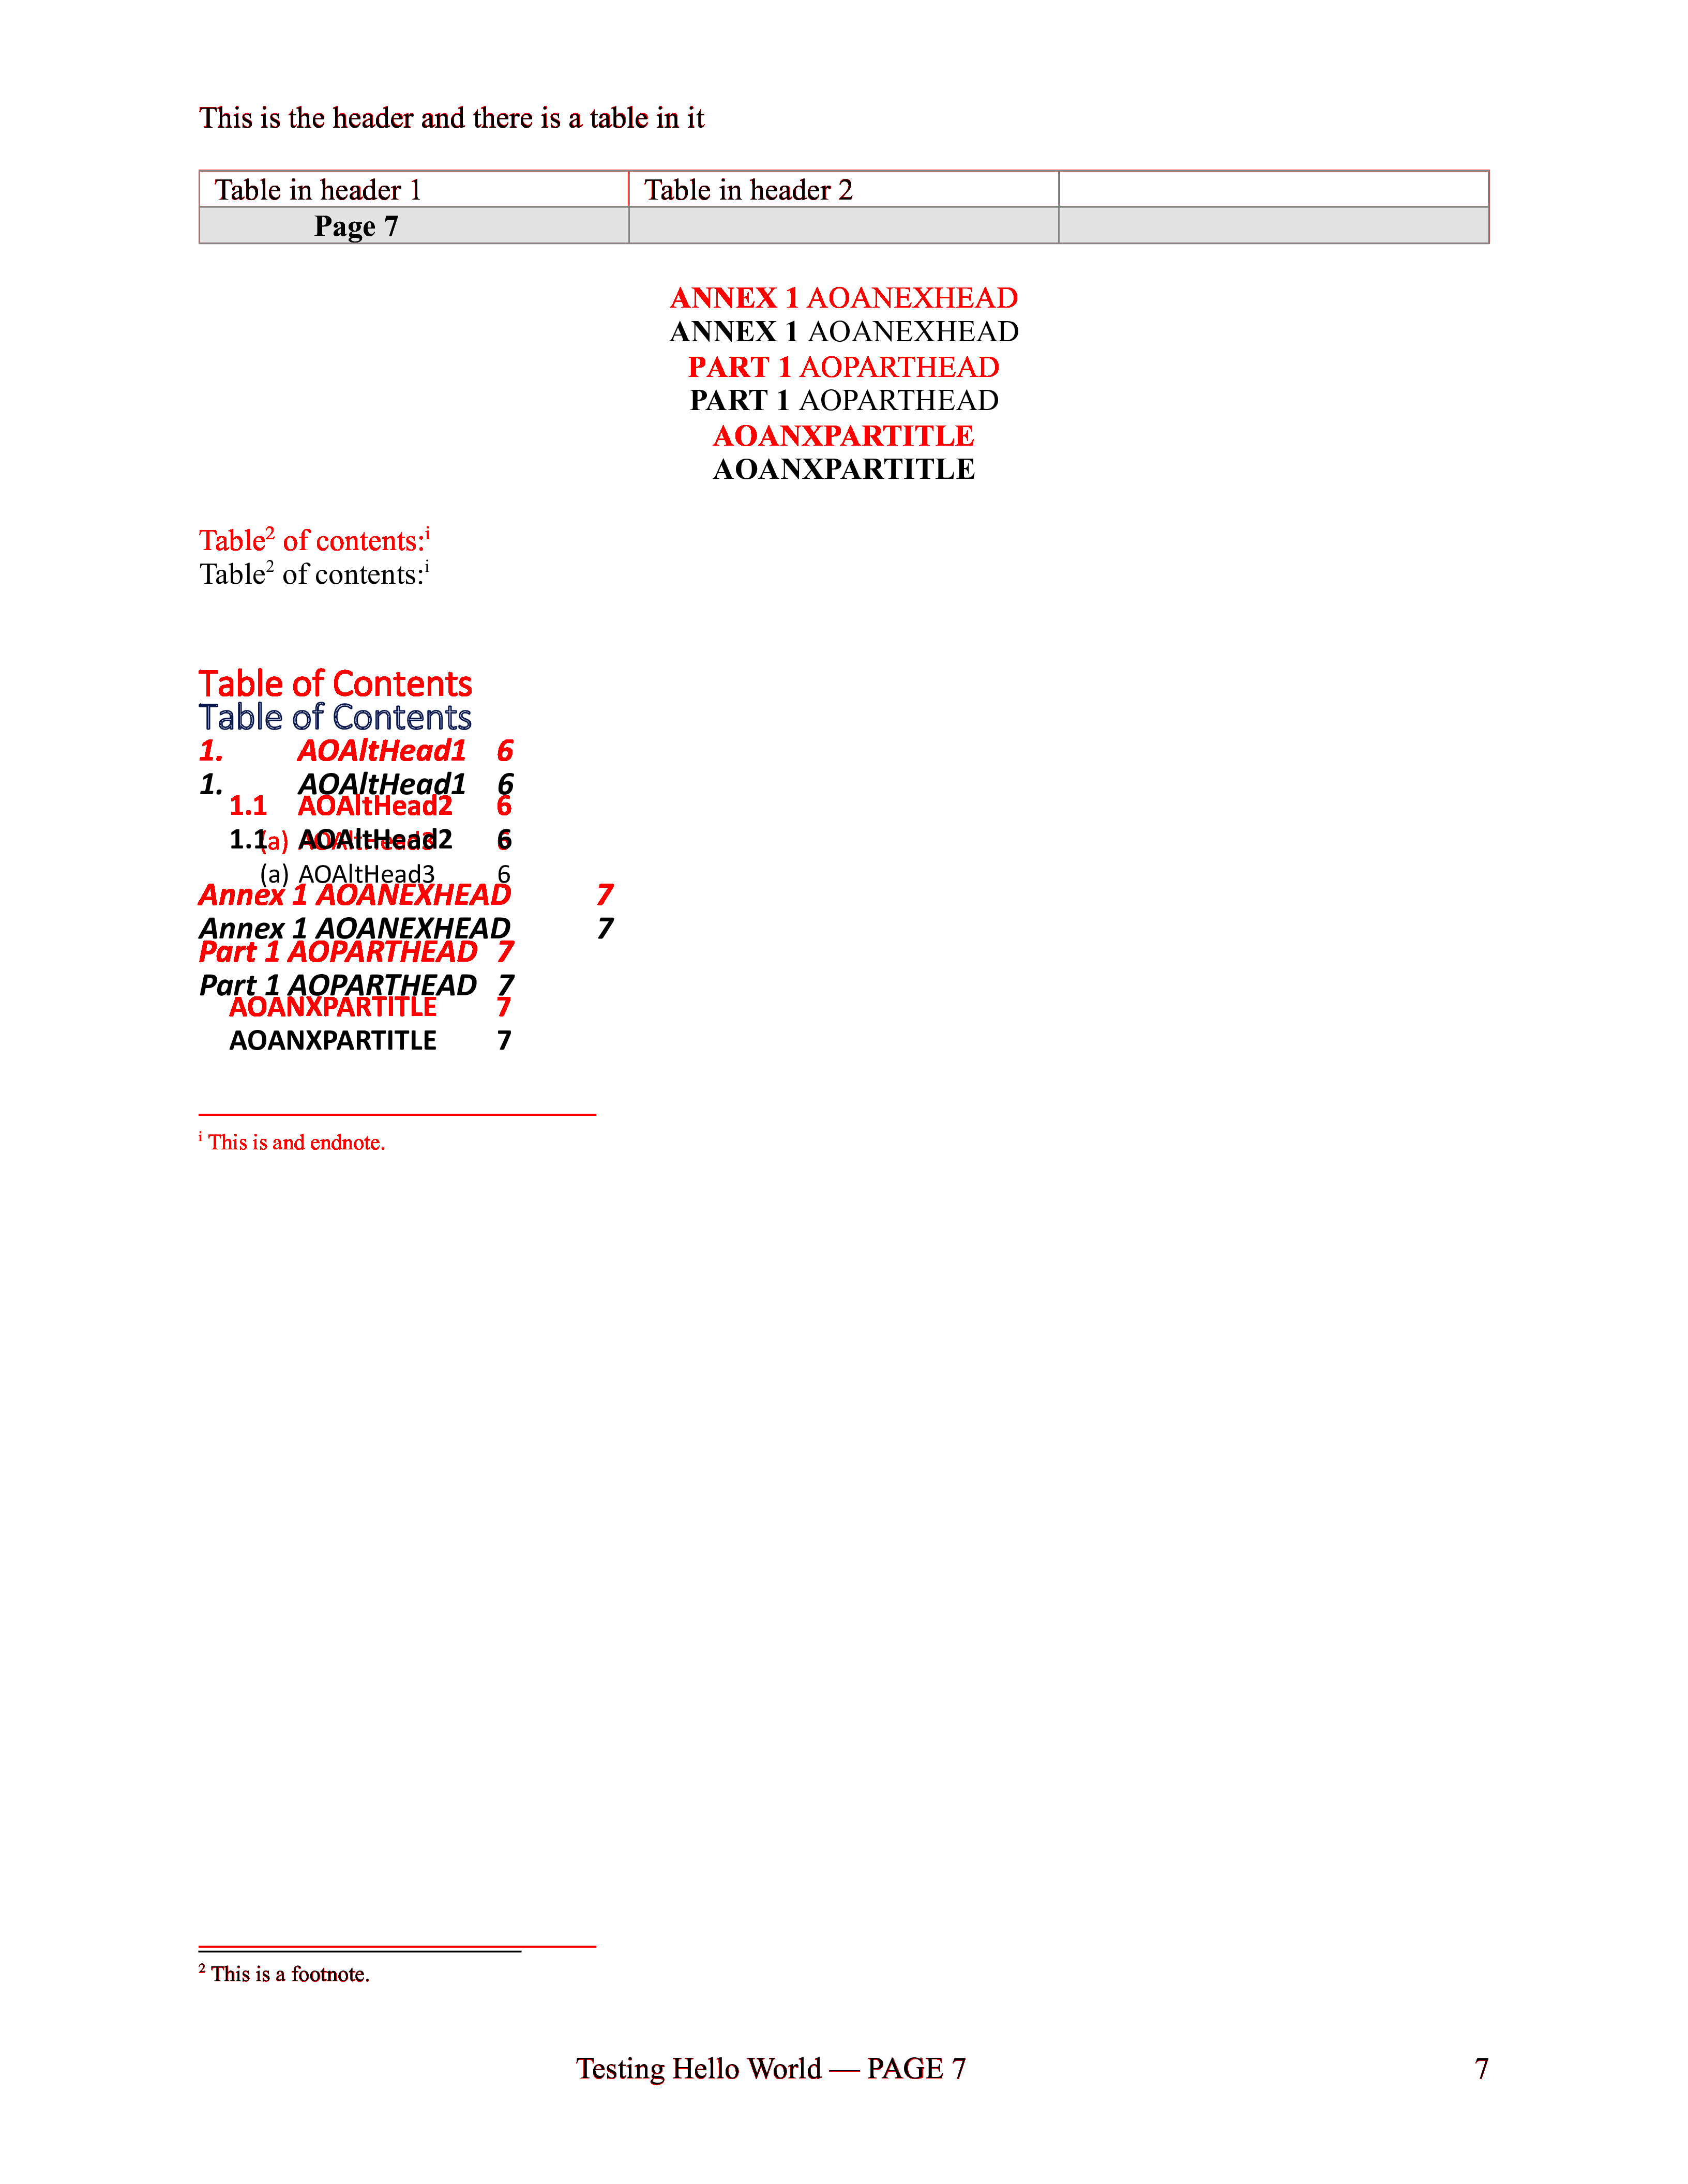
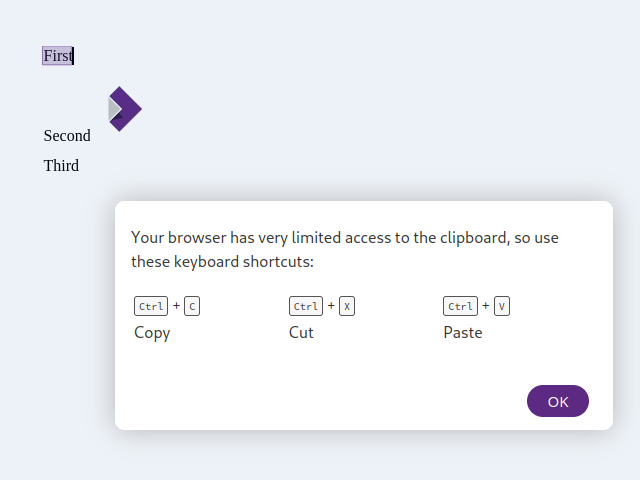
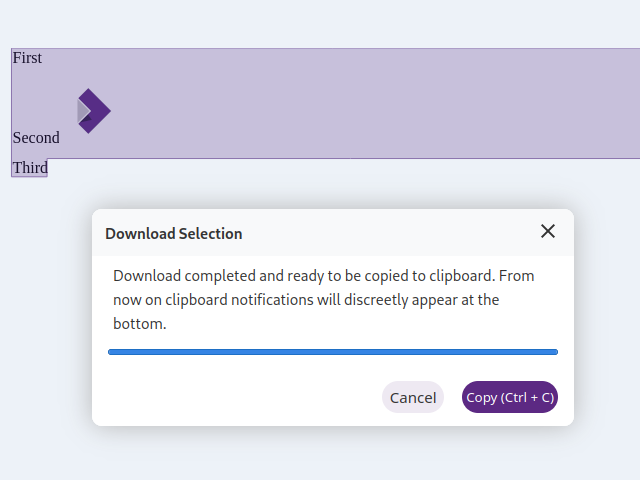
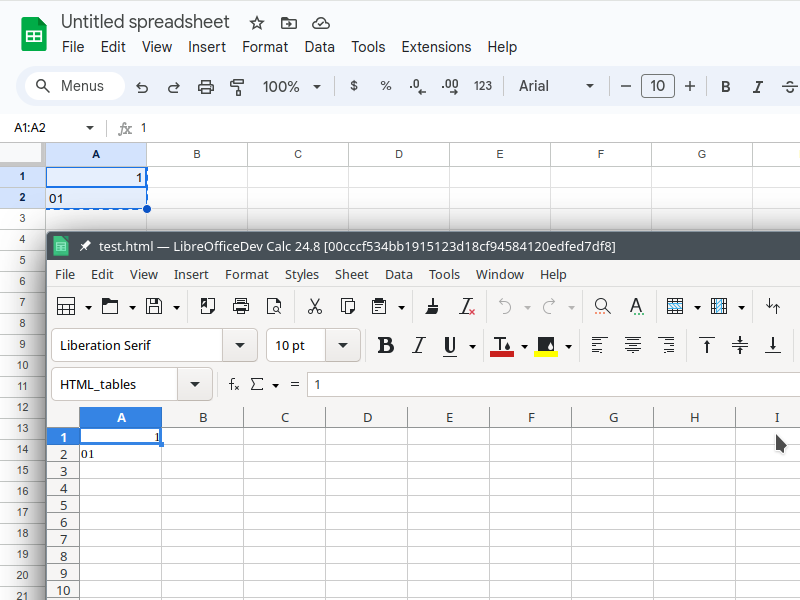
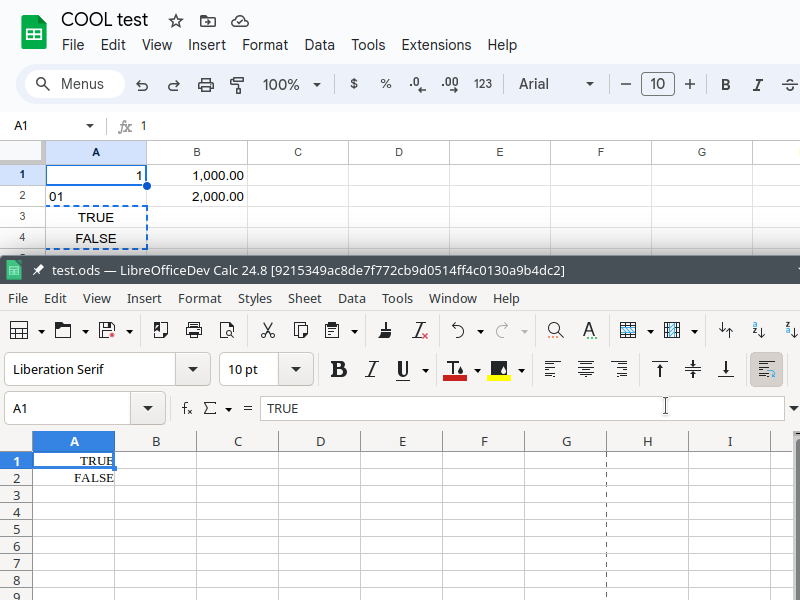
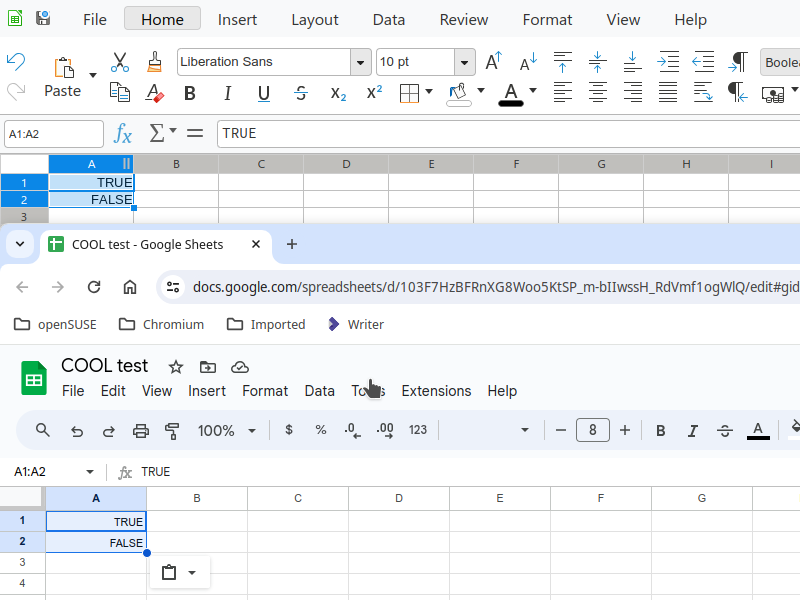
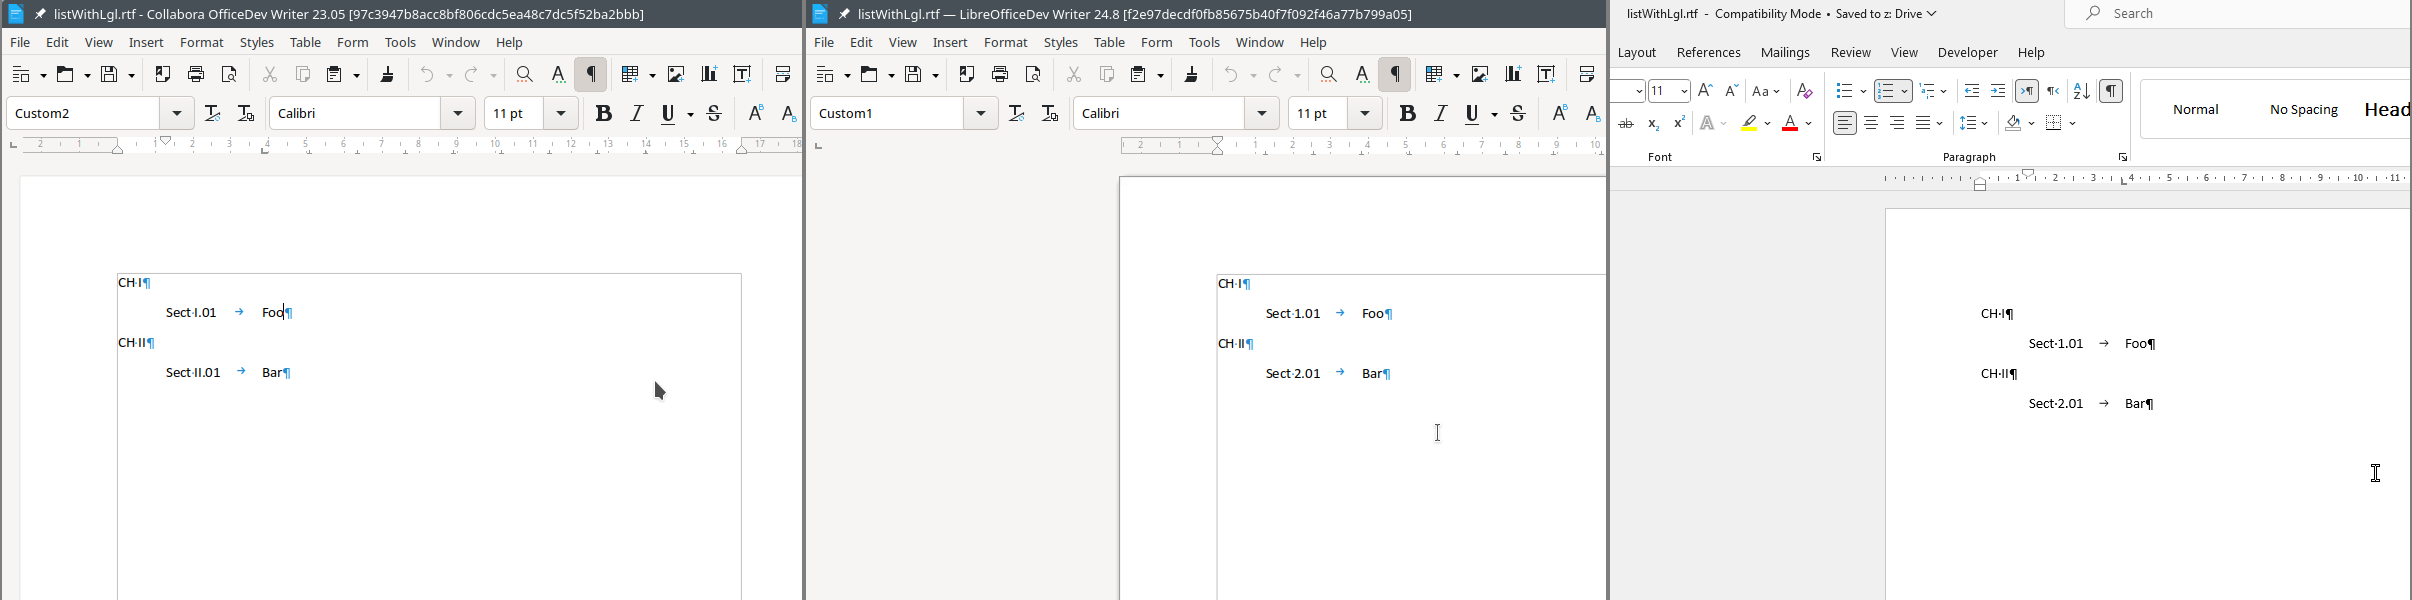
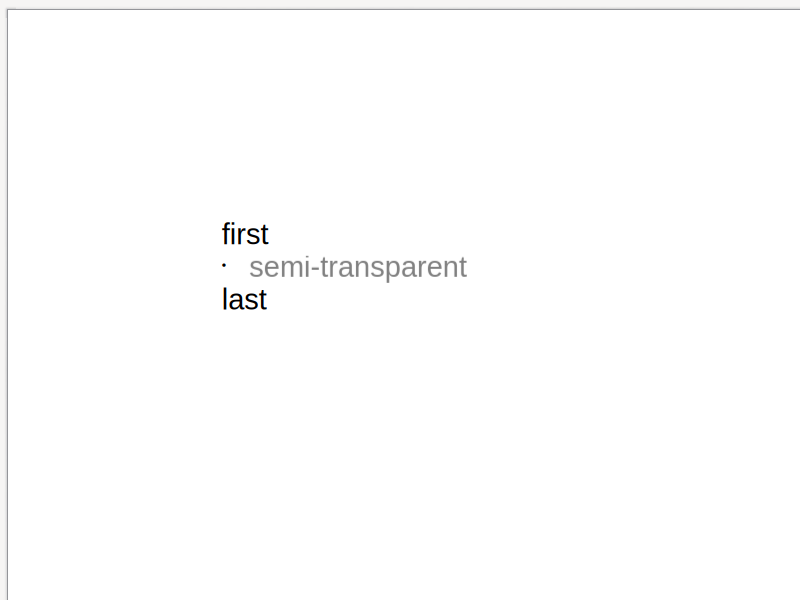
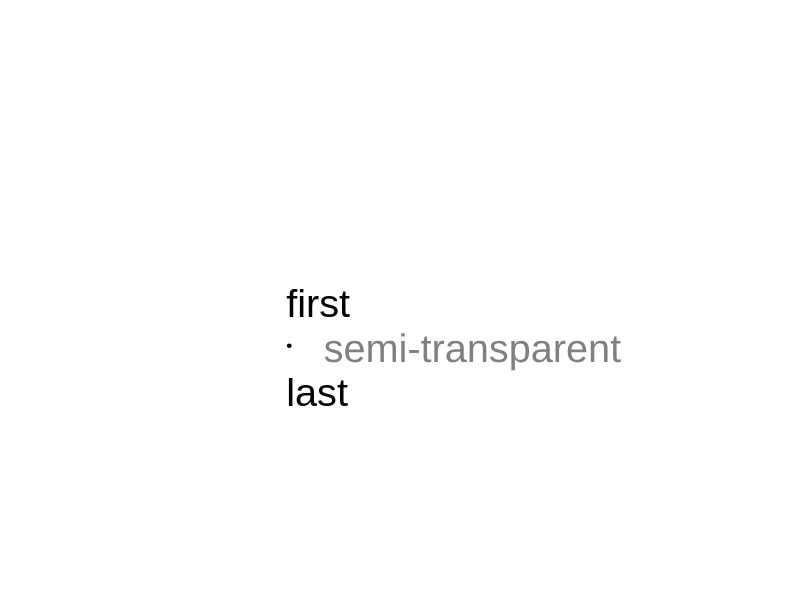
The relevant part of the test document is simple: just 3 paragraphs, the second one is semi-transparent (and also has a bullet, as an extra):
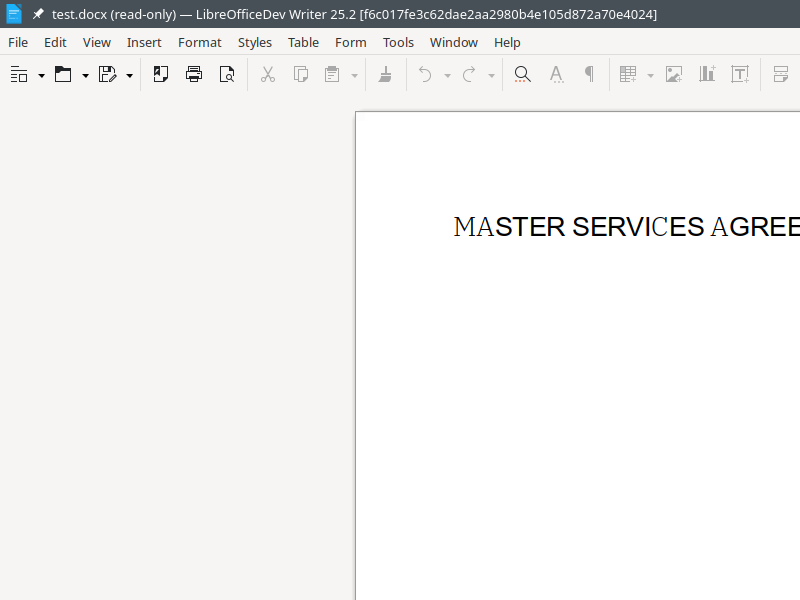
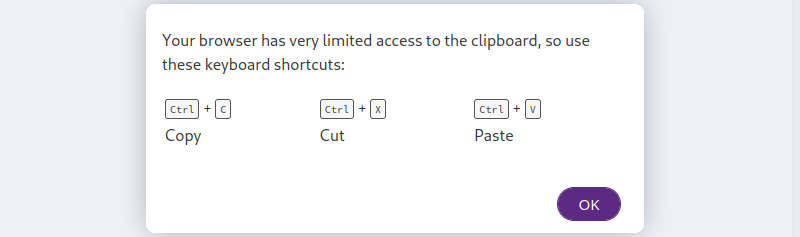
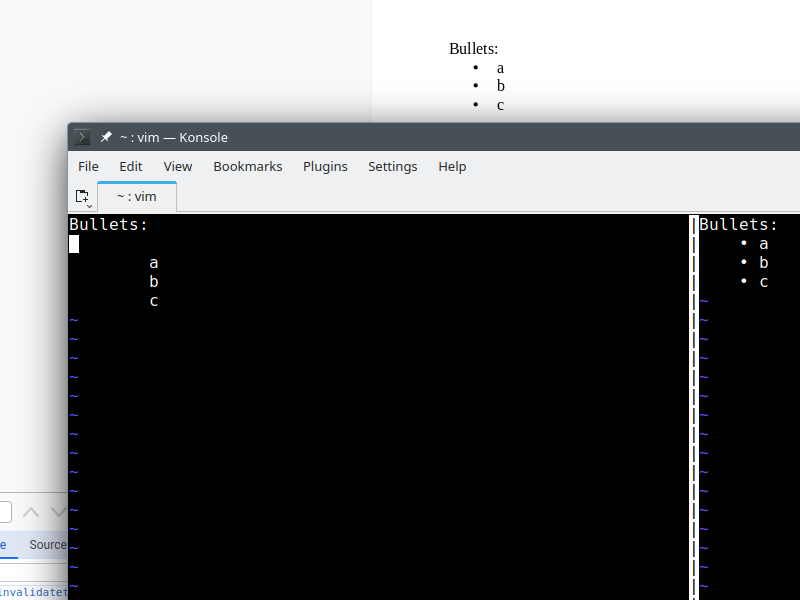
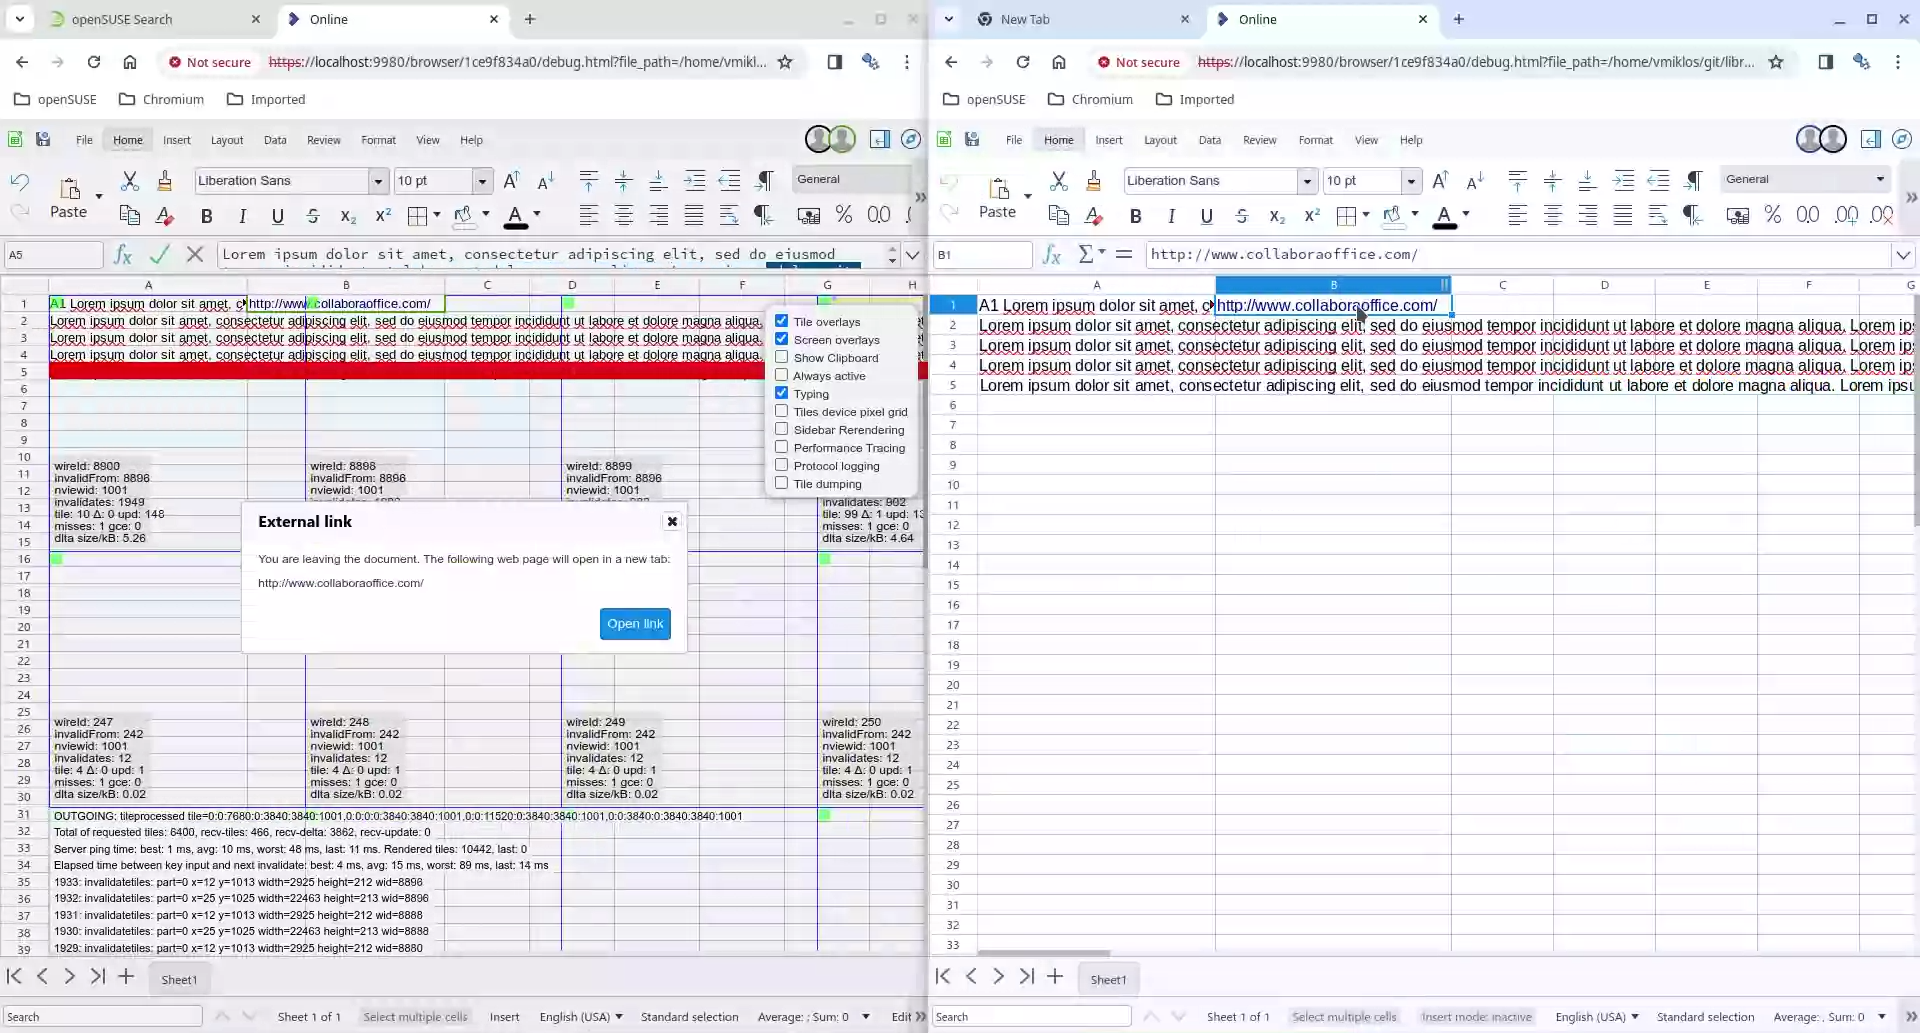
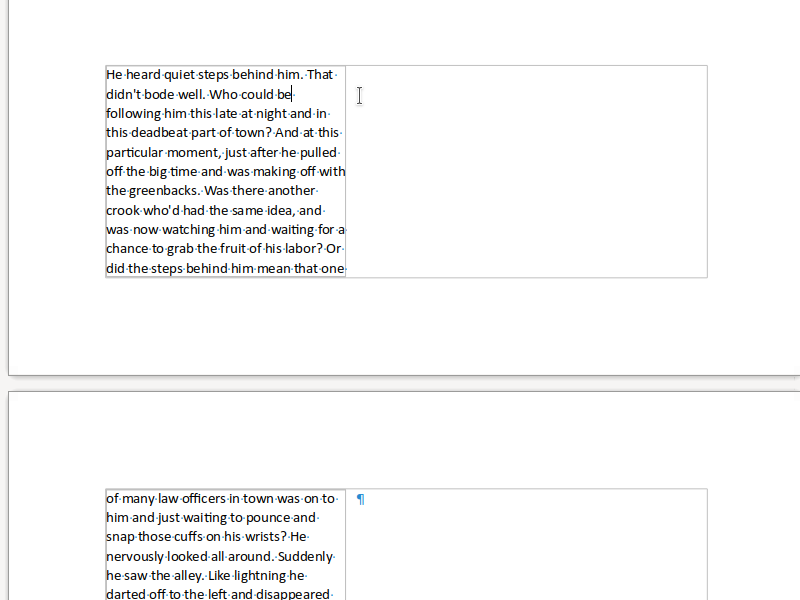
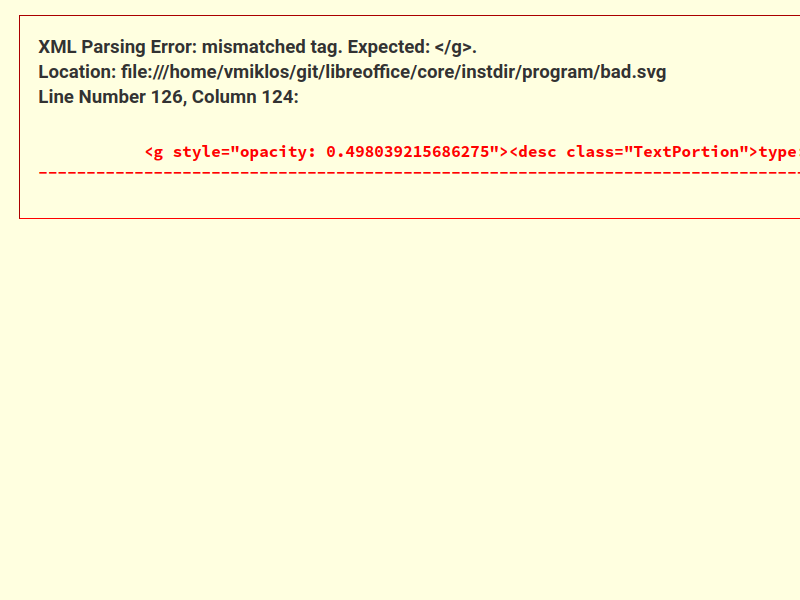
Once this was exported to SVG, this resulted in a non-well-formed XML, so you got this error in a web browser:
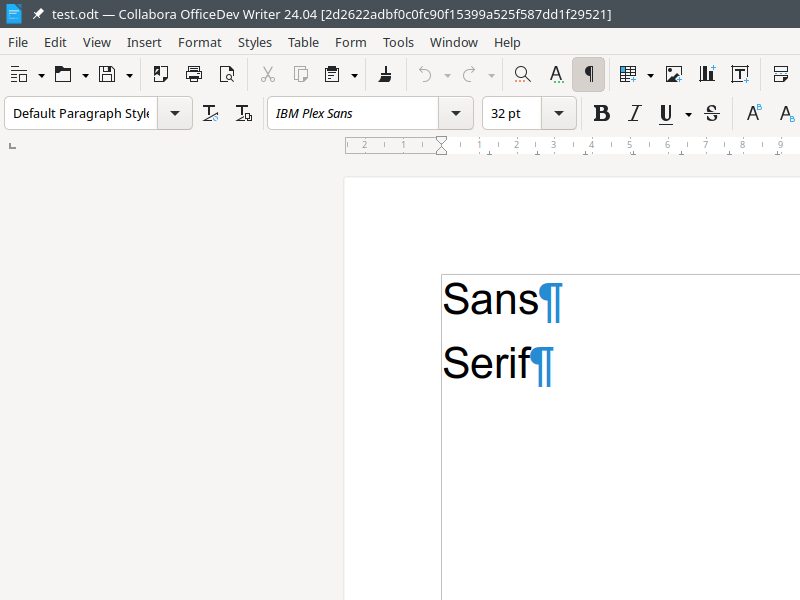
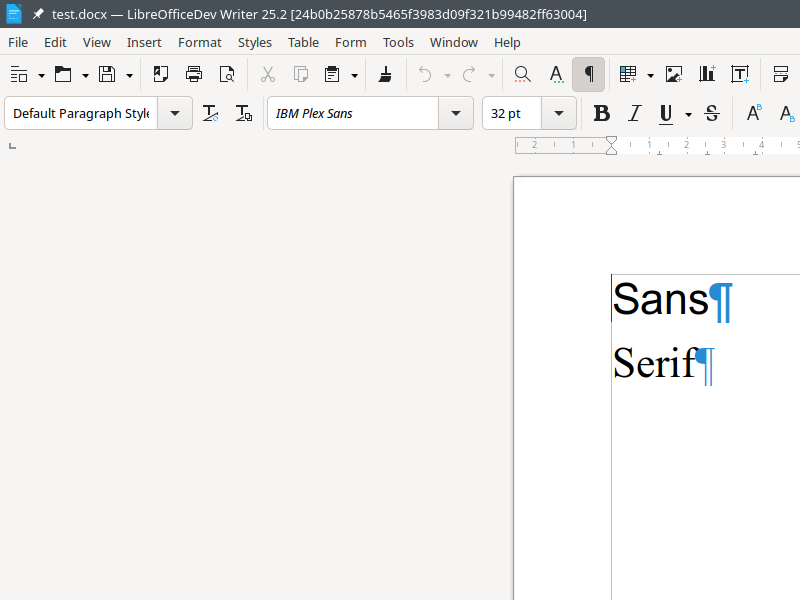
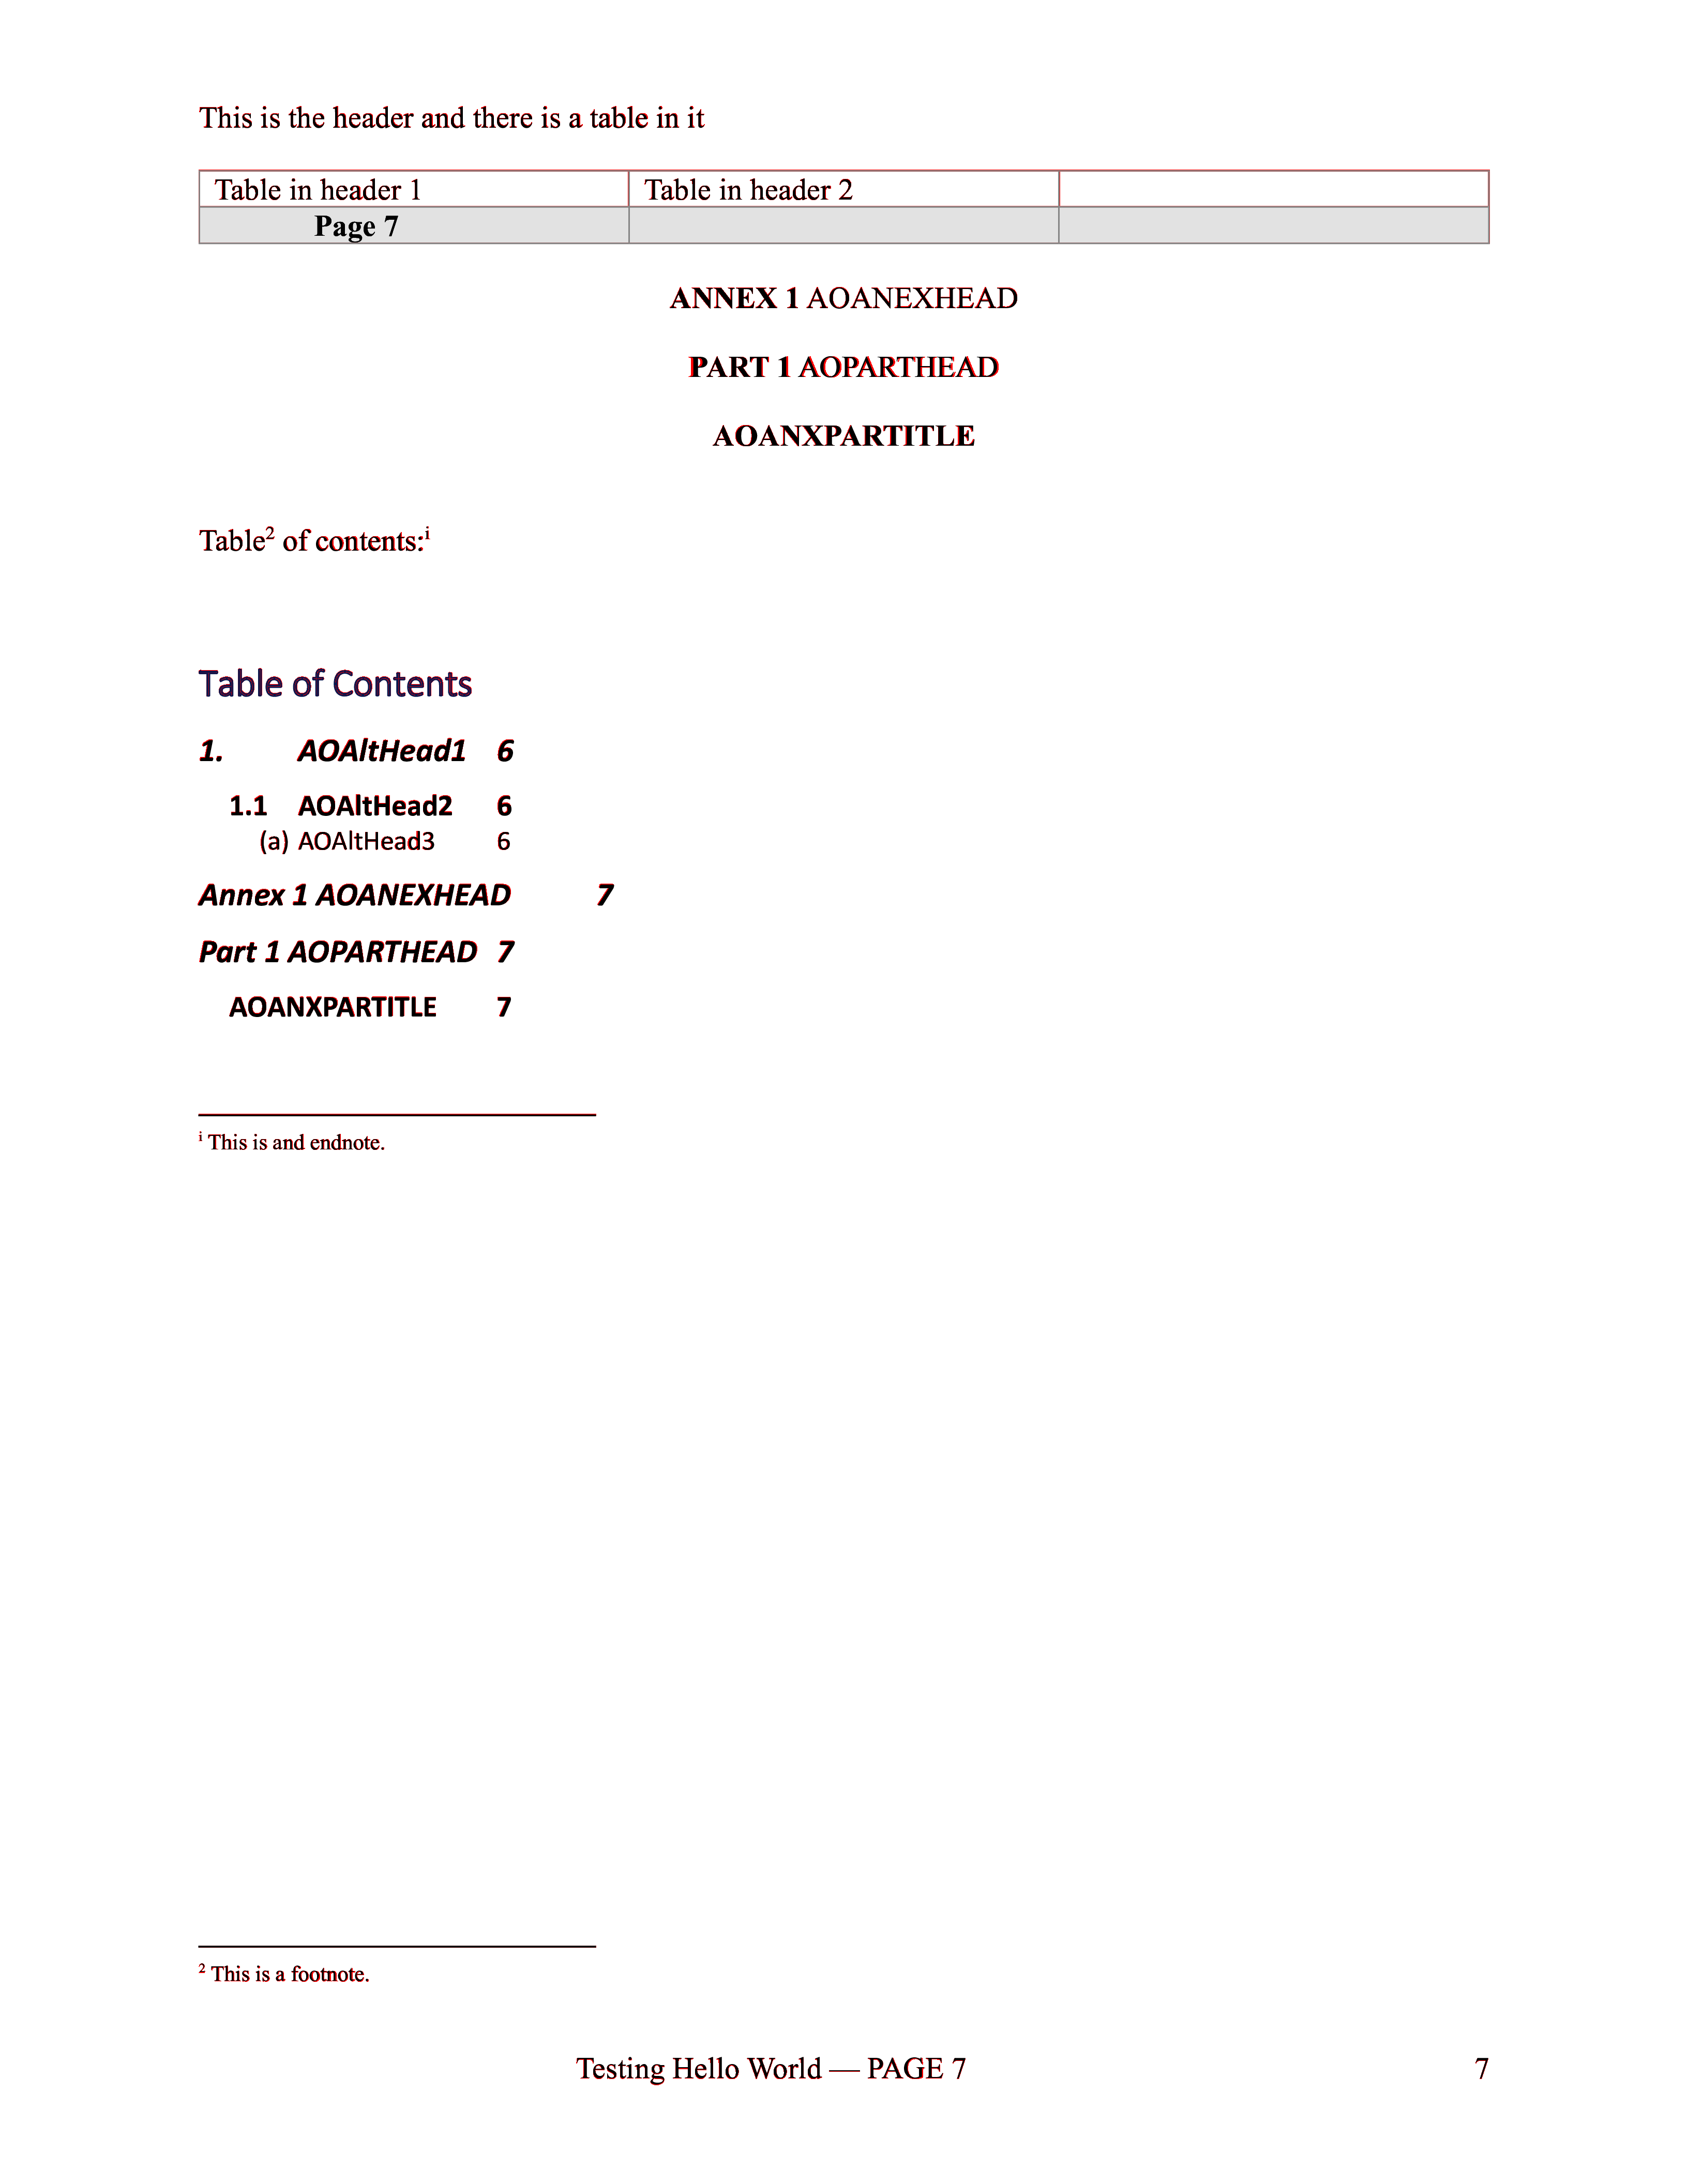
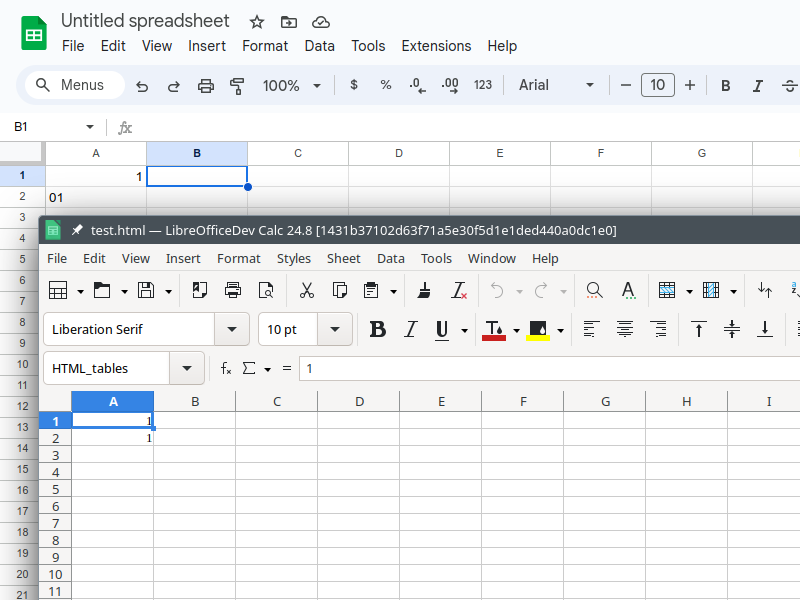
Once tweaking the transparency mask writer to check if text started already, we get the correct SVG render:
How is this implemented?
If you would like to know a bit more about how this works, continue reading... :-)
The bugfix commit was SVG export: fix handling of semi-transparent text inside a list.
The tracking bug was tdf#162782.
Want to start using this?
You can get a development edition of Collabora Online 24.04 and try it out yourself right now: try the development edition. Collabora intends to continue supporting and contributing to LibreOffice, the code is merged so we expect all of this work will be available in TDF's next release too (25.2).