Estimated read time: 3 minutes
This post is part of a series to describe how Writer now gets a feature to handle tables that are both floating and span over multiple pages.
This work is primarily for Collabora Online, but is useful on the desktop as well. See the 9th post for the previous part.
Motivation
Previous posts described the hardest part of multi-page floating tables: reading them from documents, so we layout and render them. In this part, you can read about UI improvements when it comes to creating, updating and deleting them in Writer.
Results so far
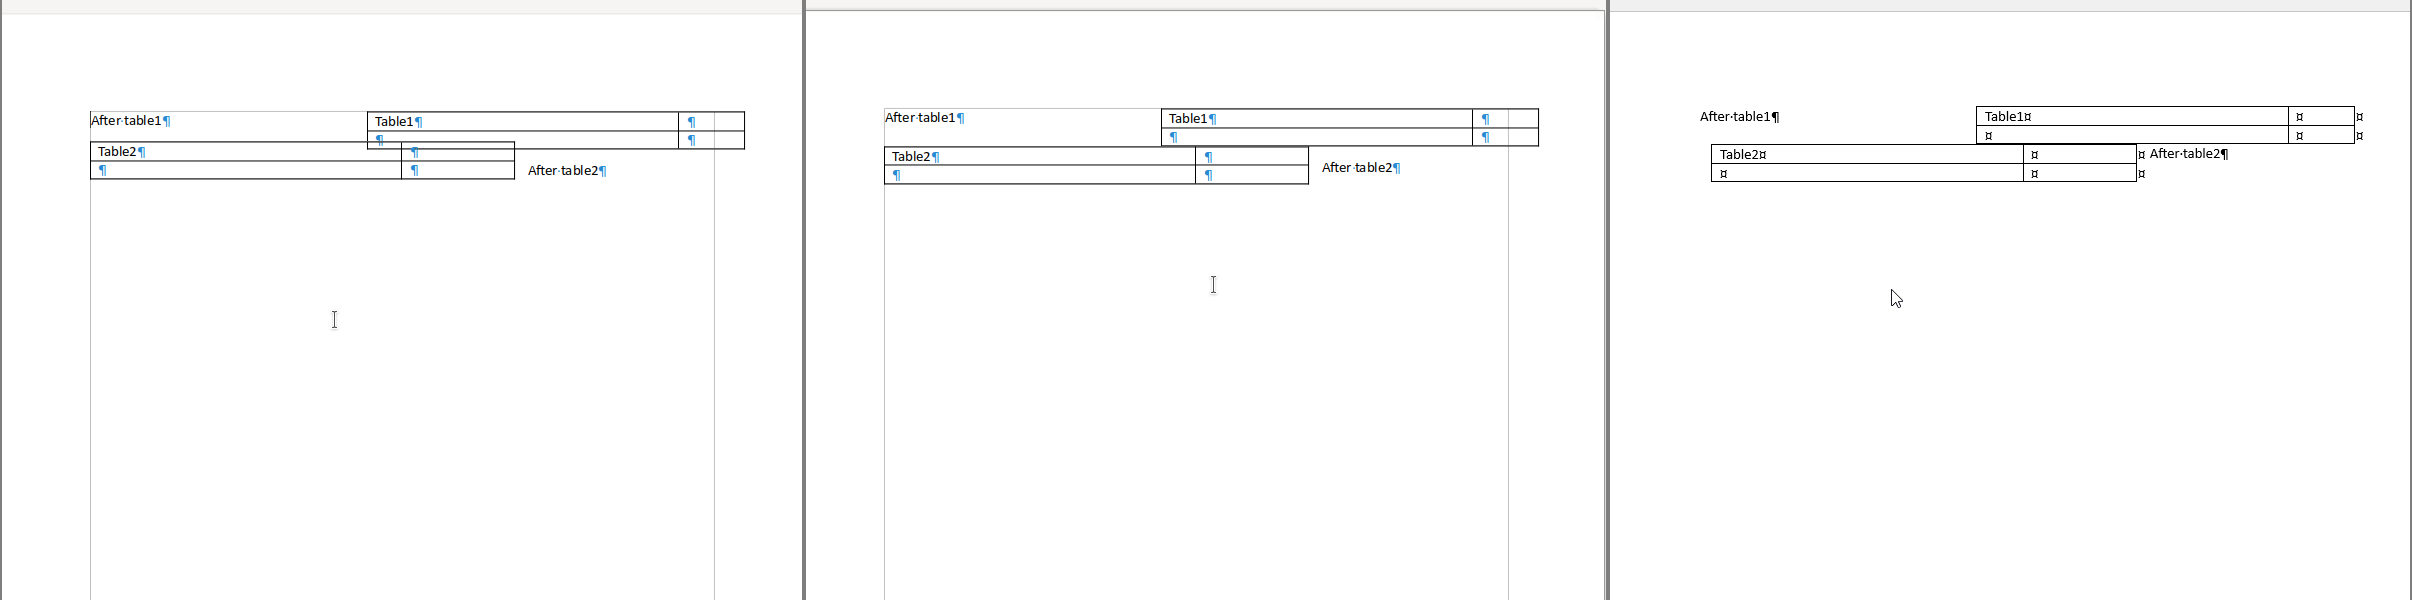
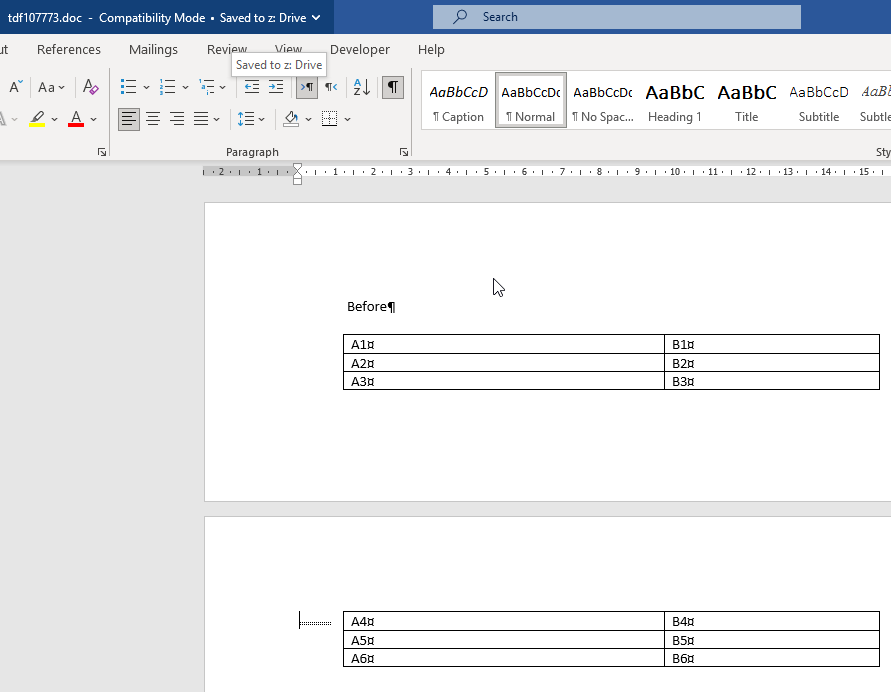
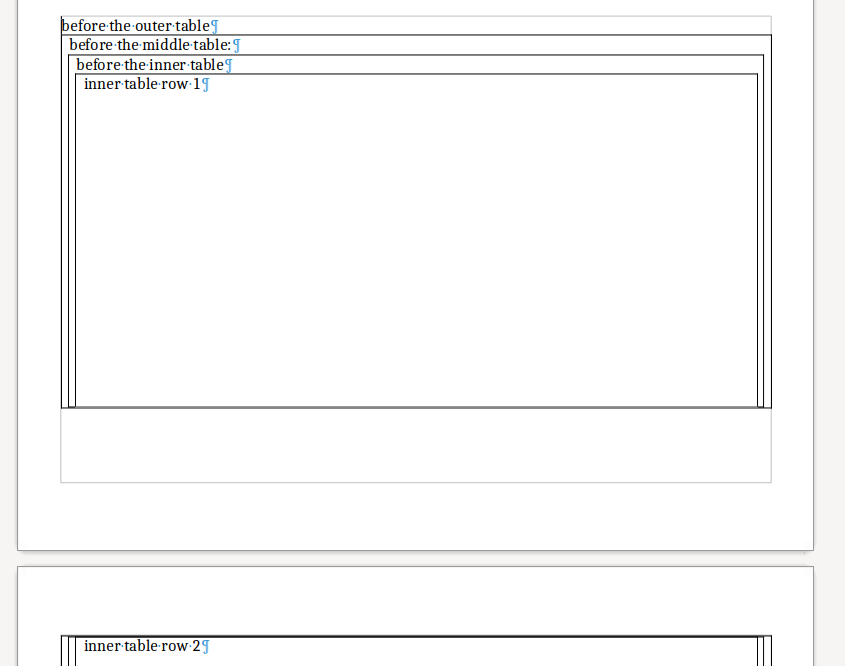
Regarding testing of the floating table feature in general, the core.git repository has 89 files now which are focusing on correct
handling of floating tables (filenames matching floattable-|floating-table-). This doesn't count
cases where the document model is built using C++ code in the memory and then we assert the result
of some operation.
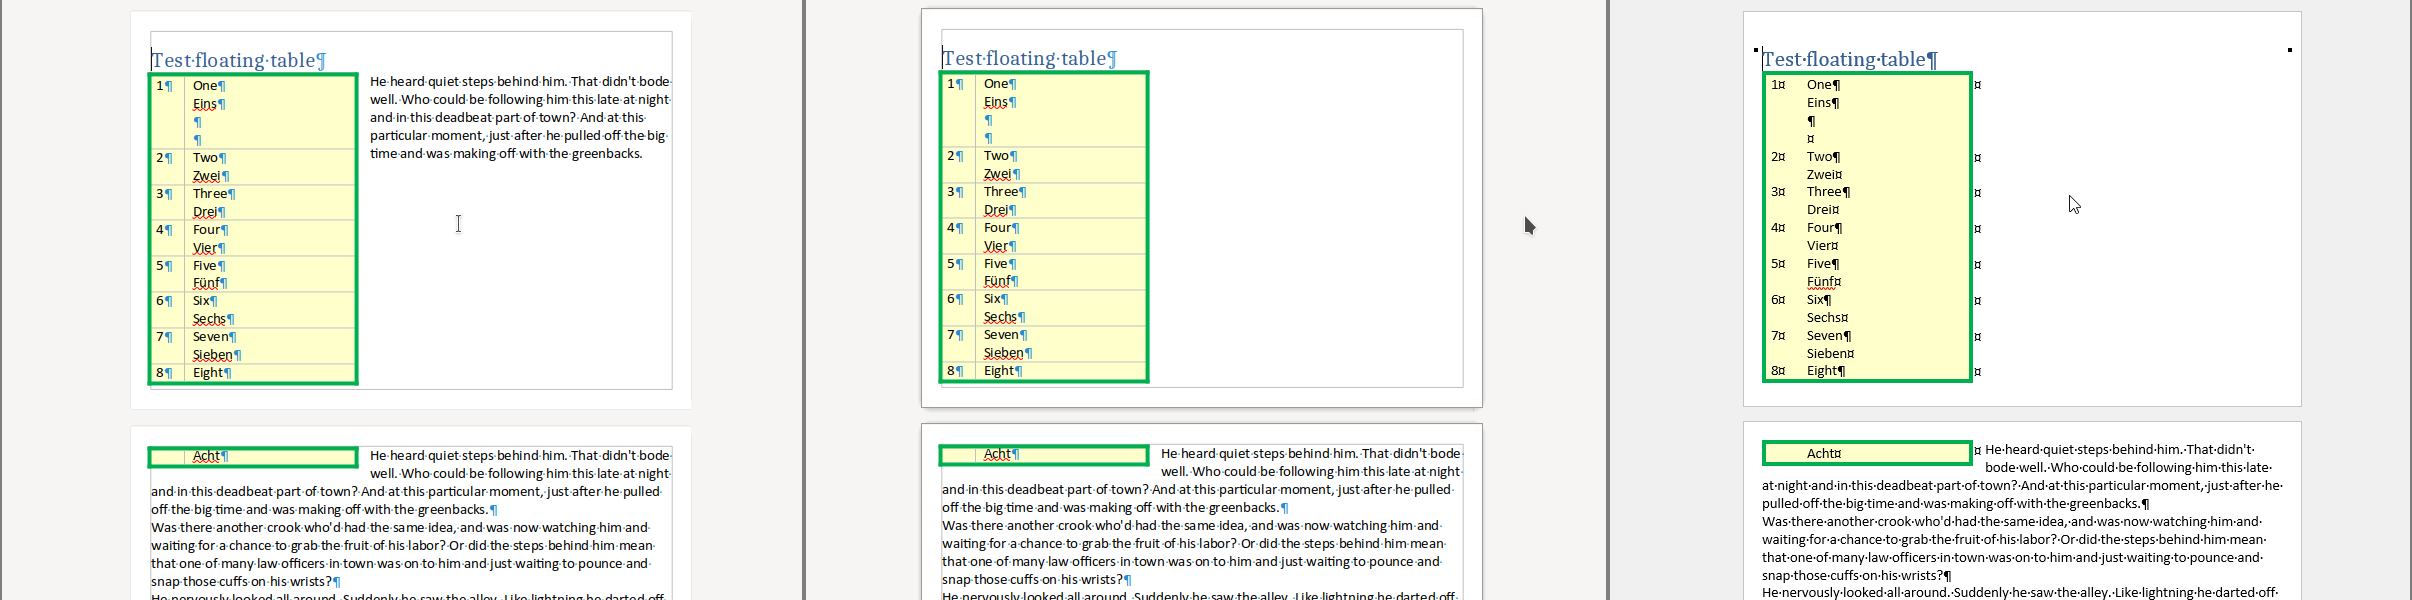
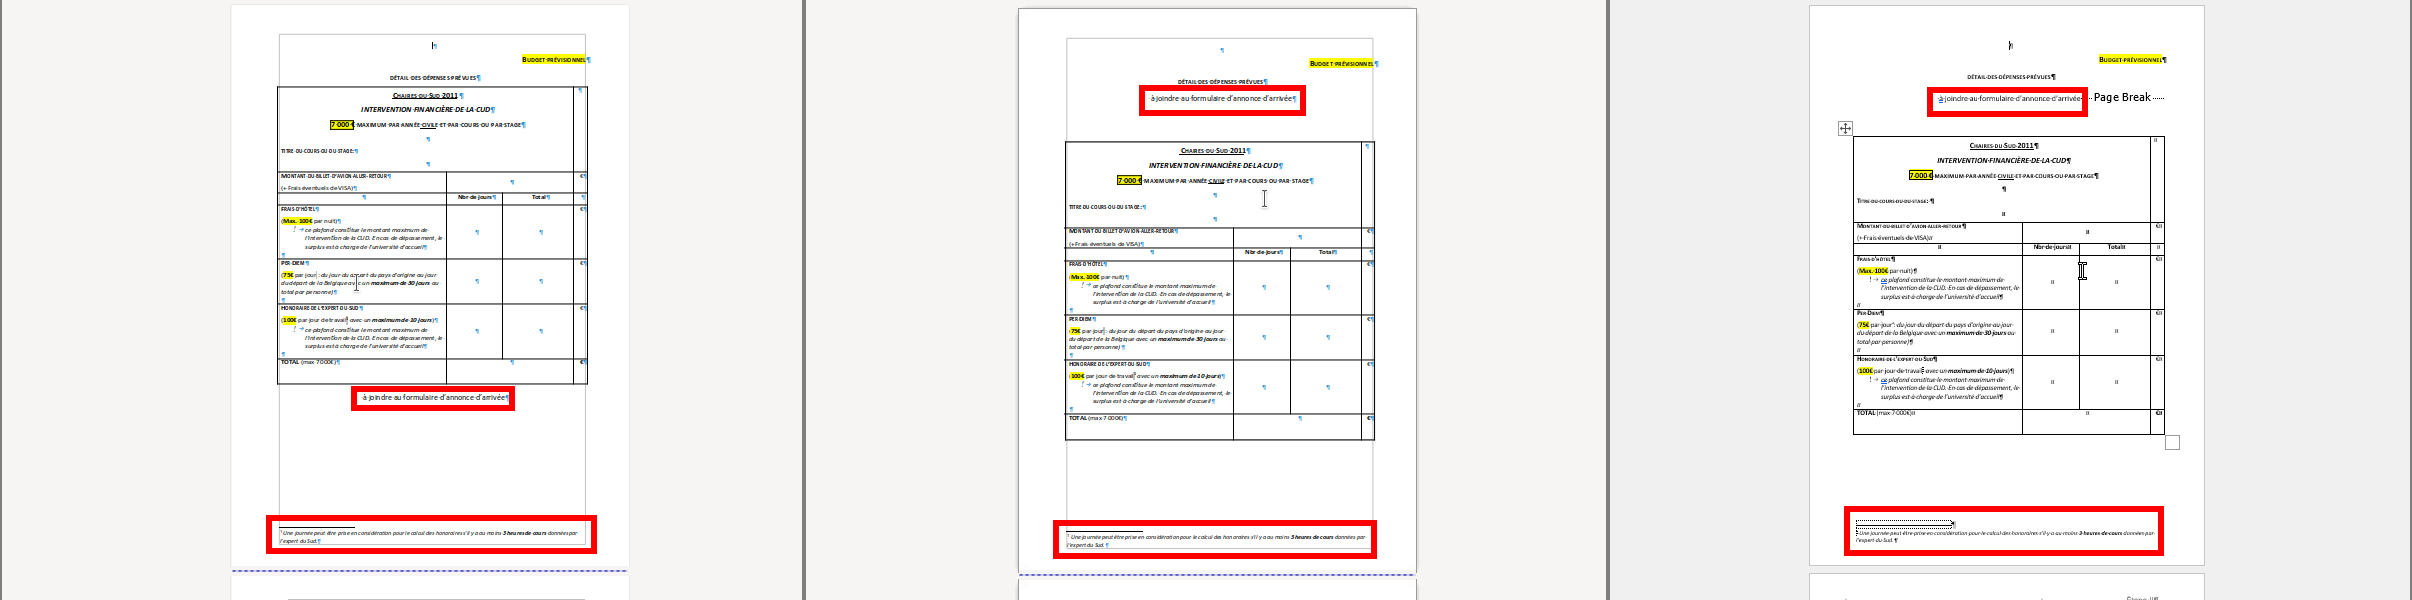
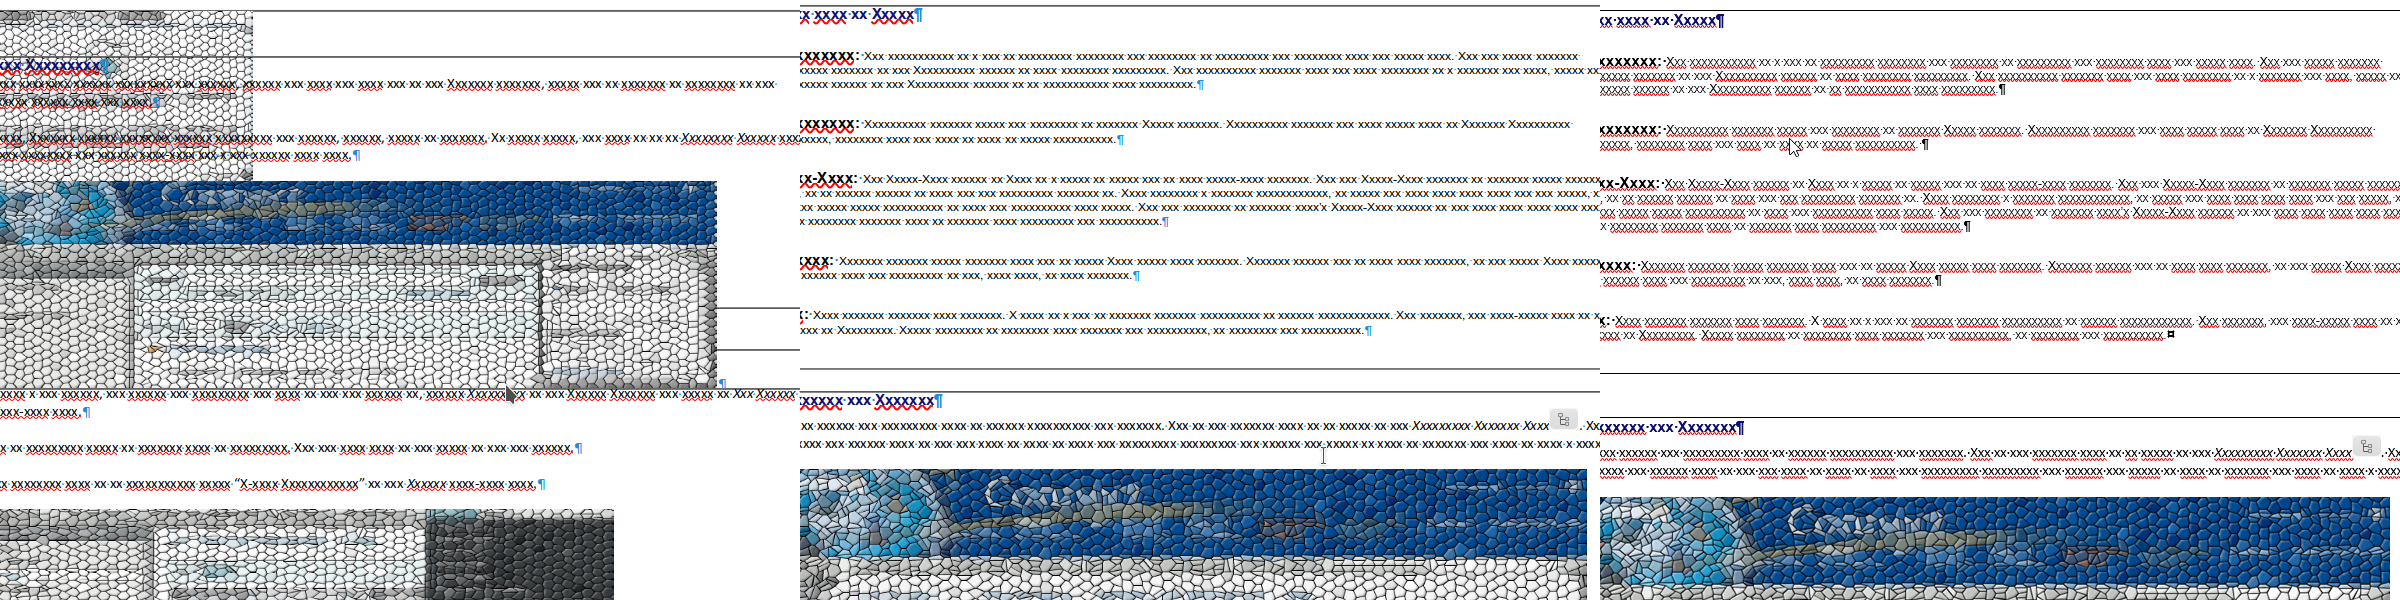
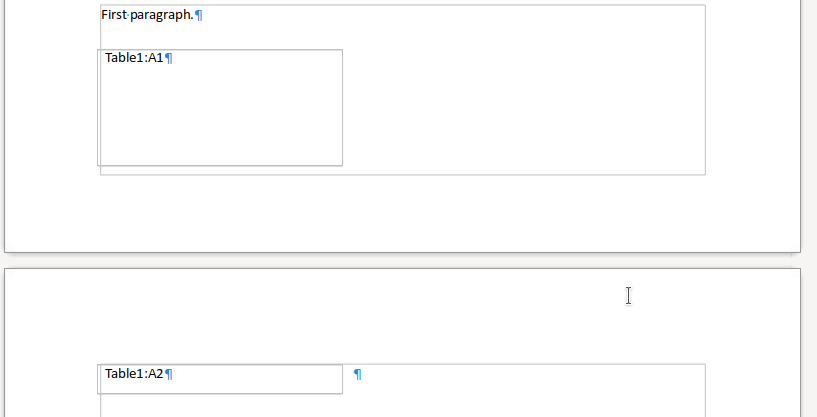
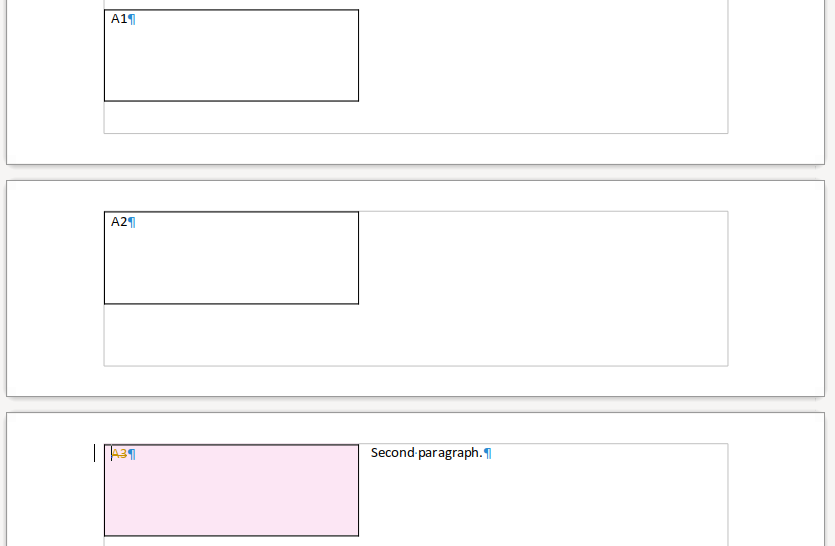
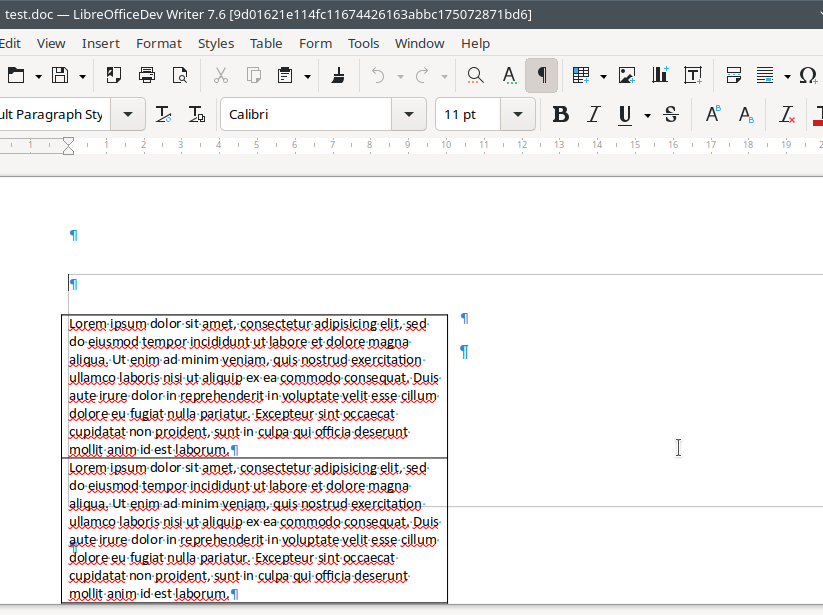
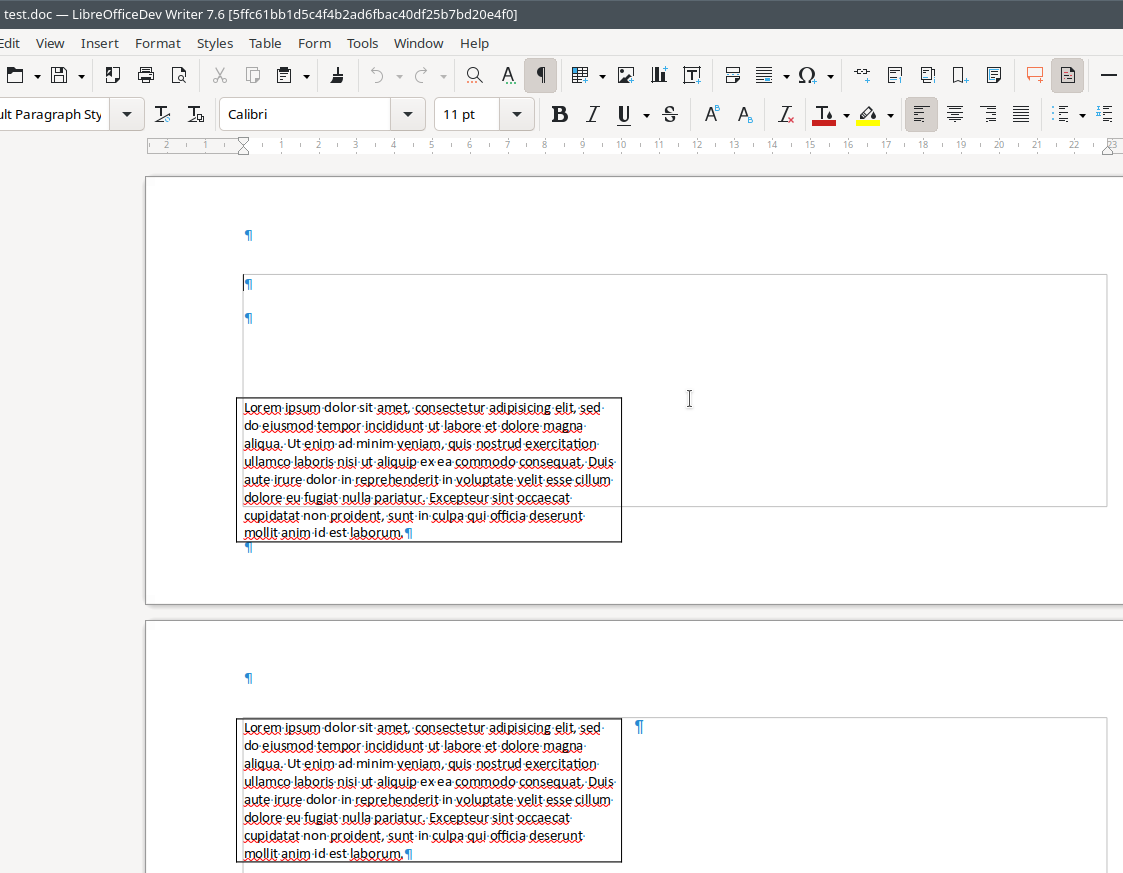
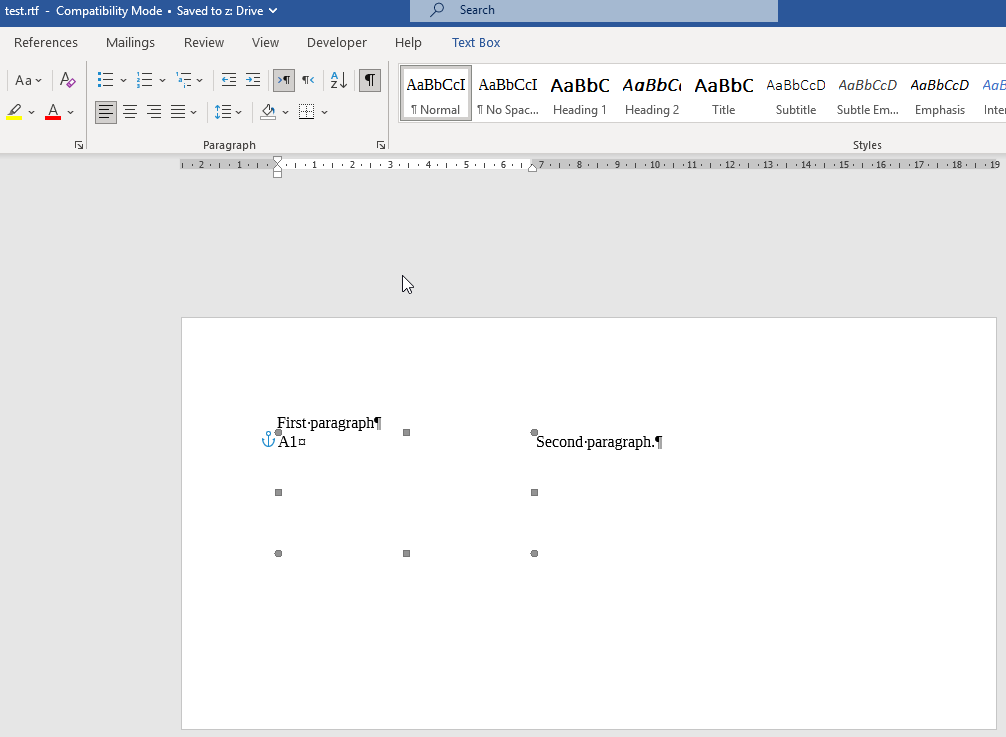
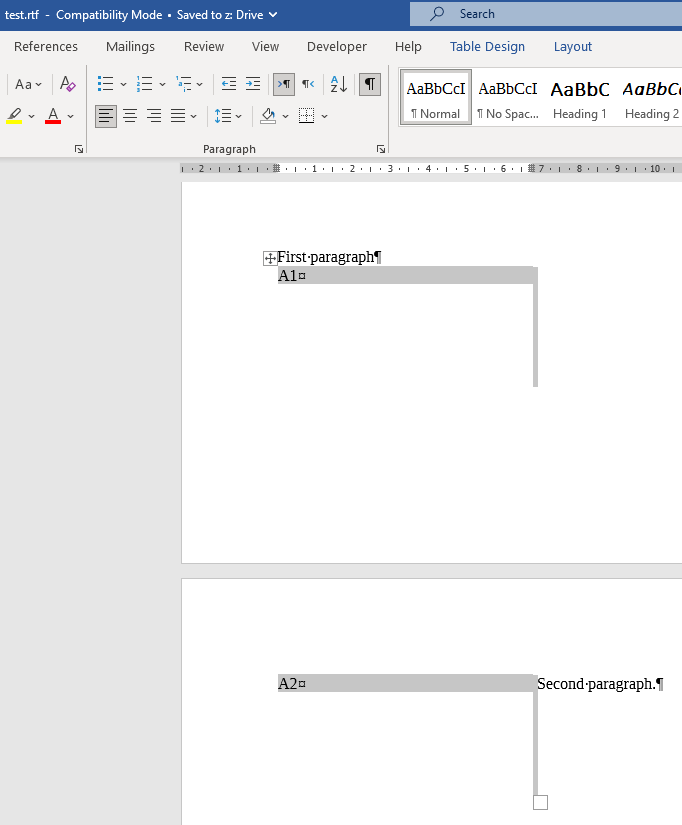
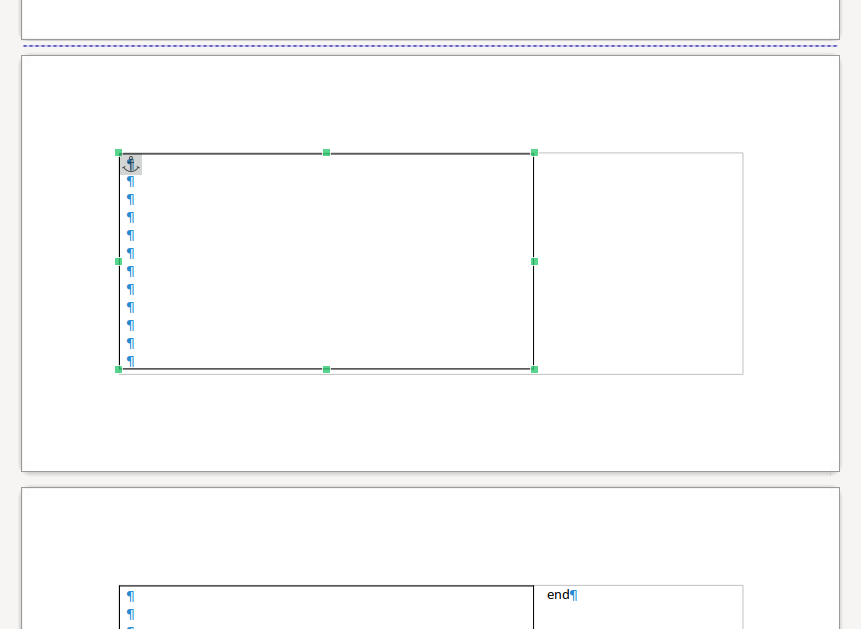
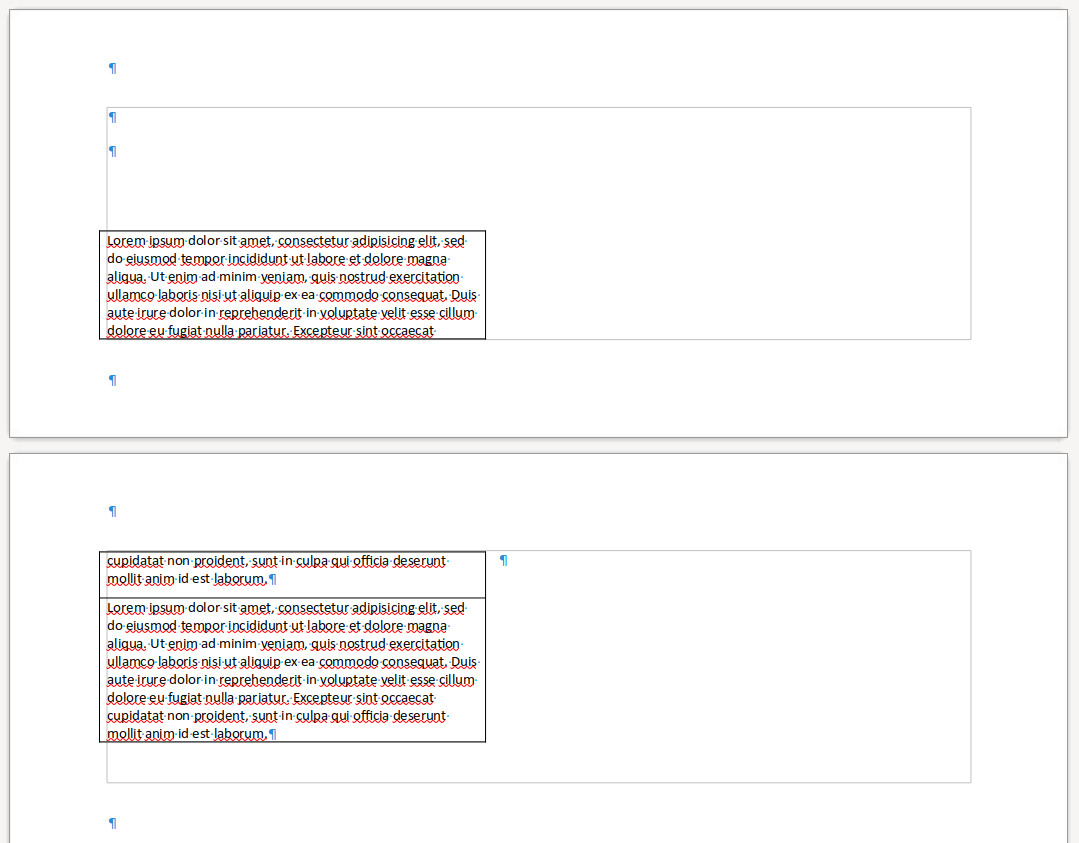
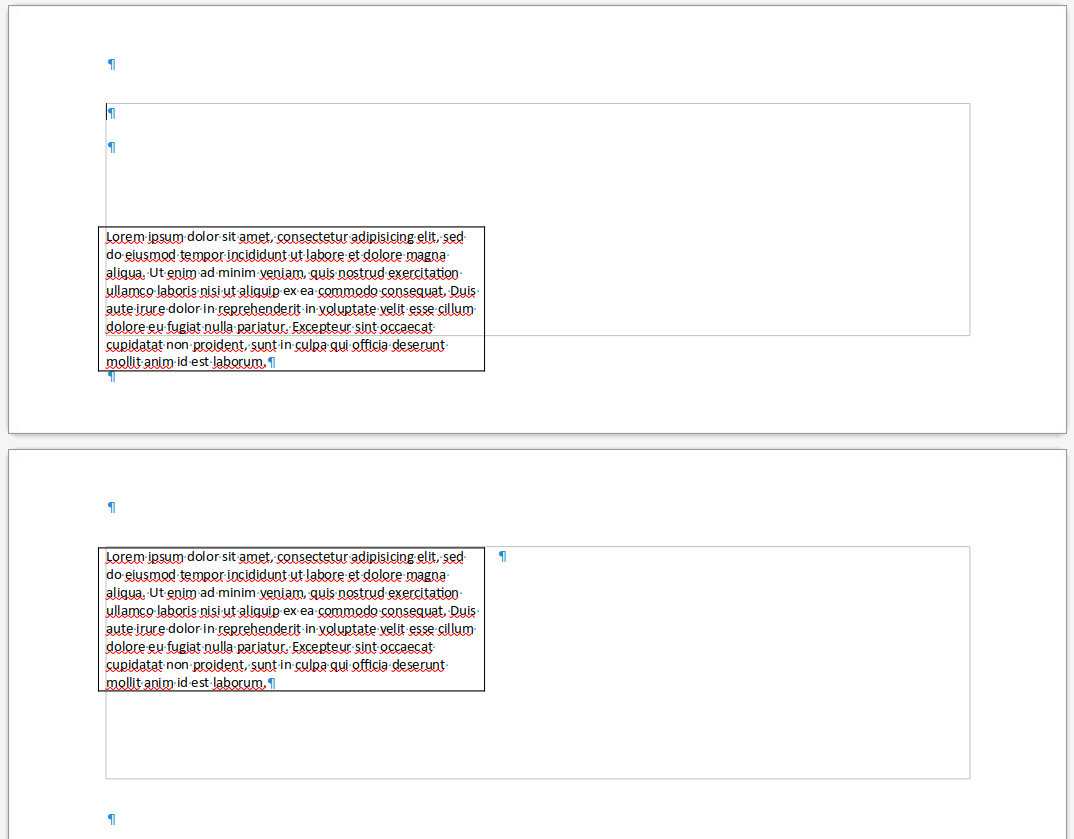
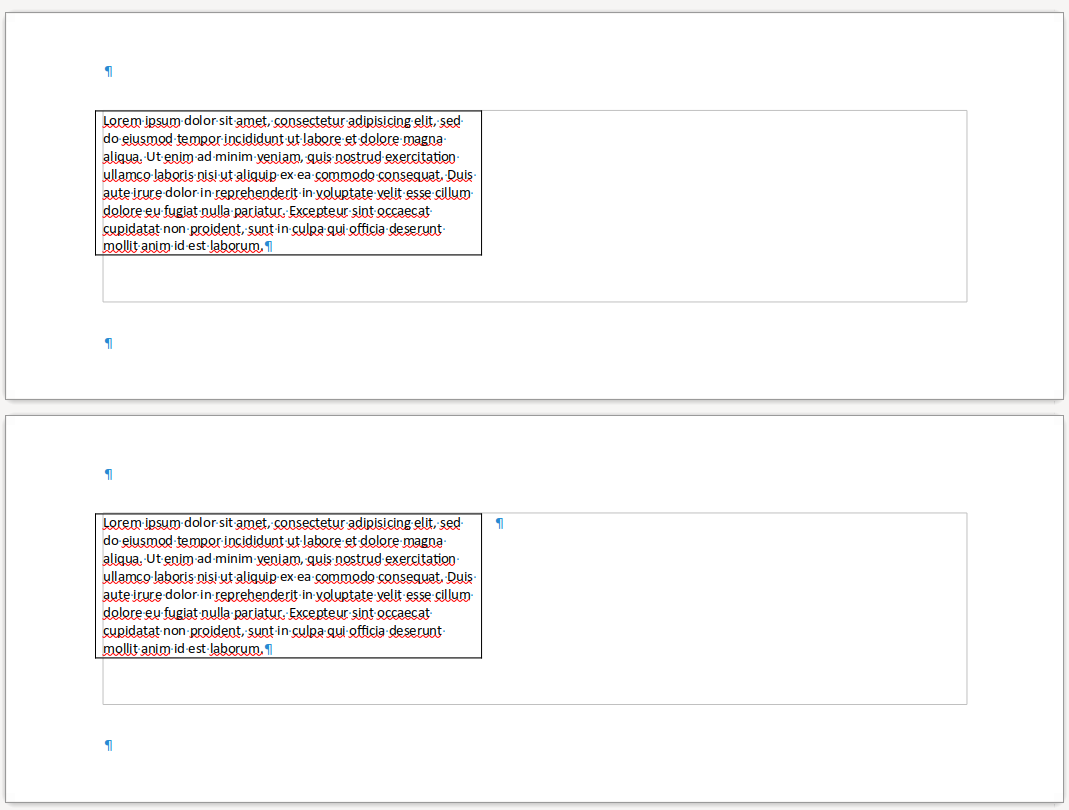
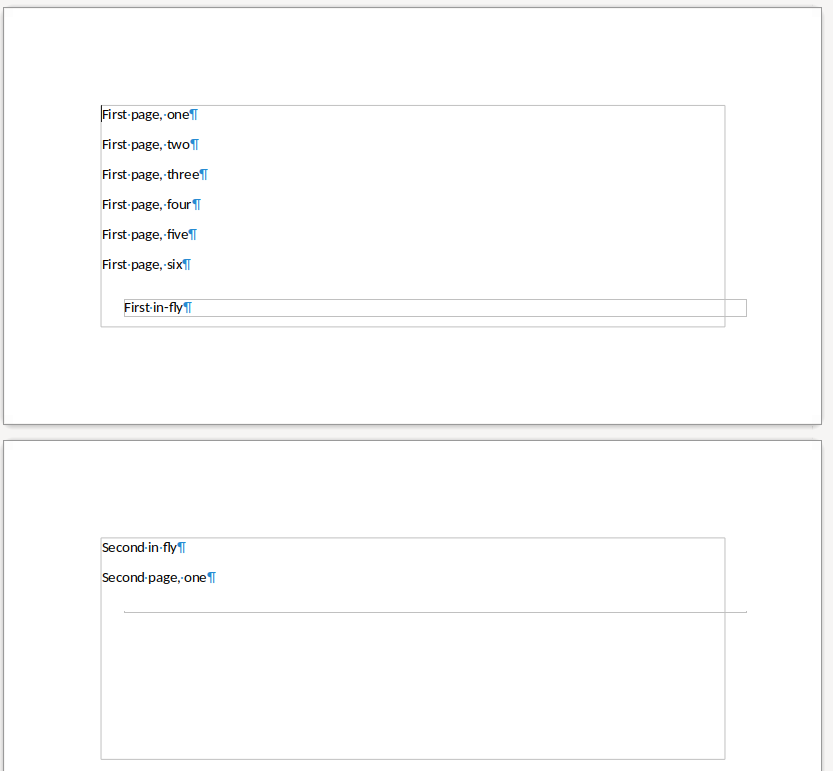
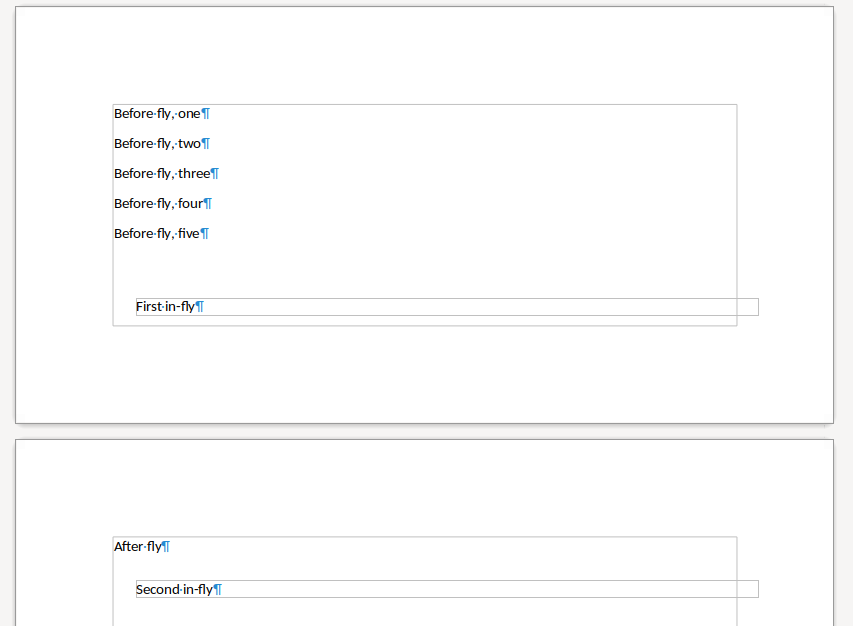
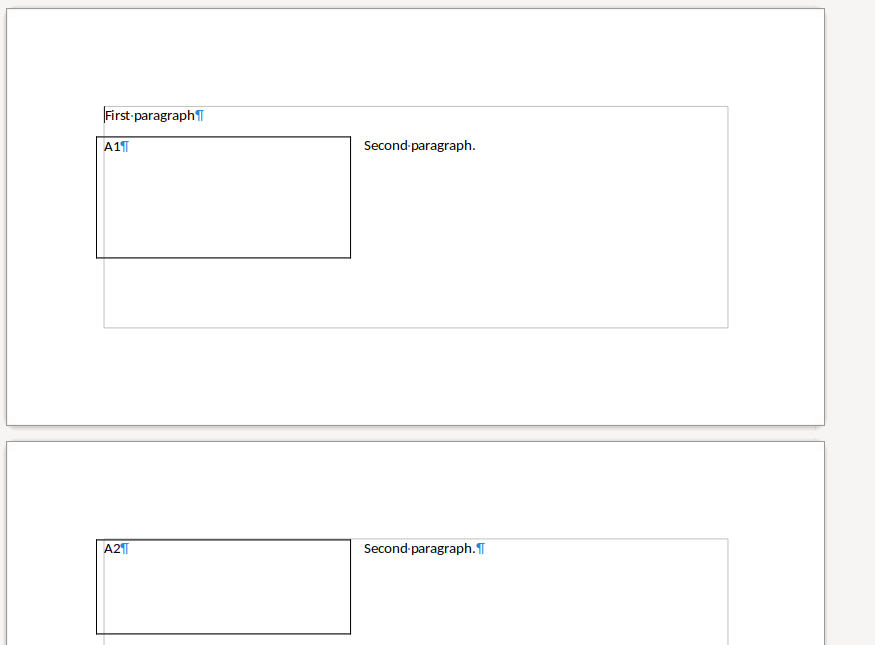
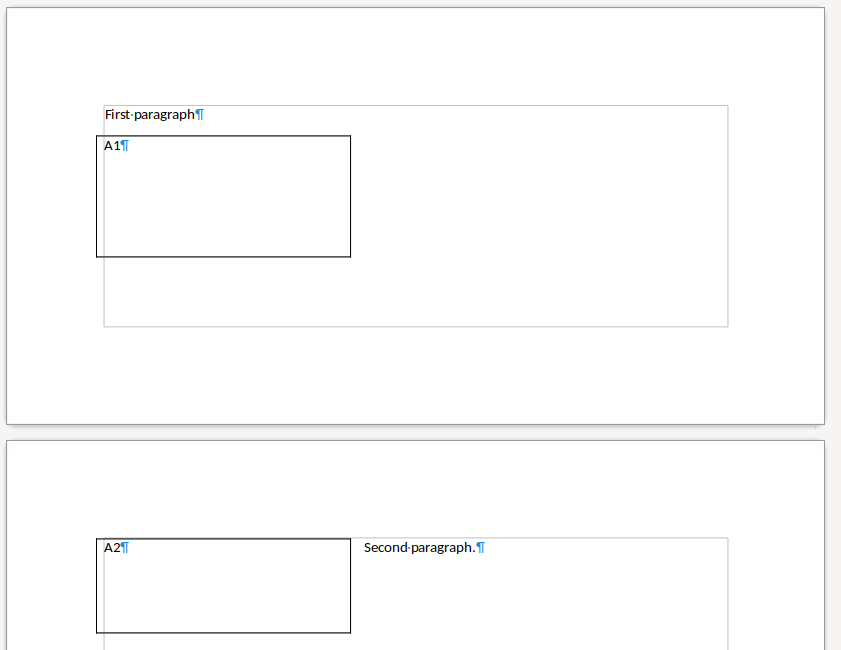
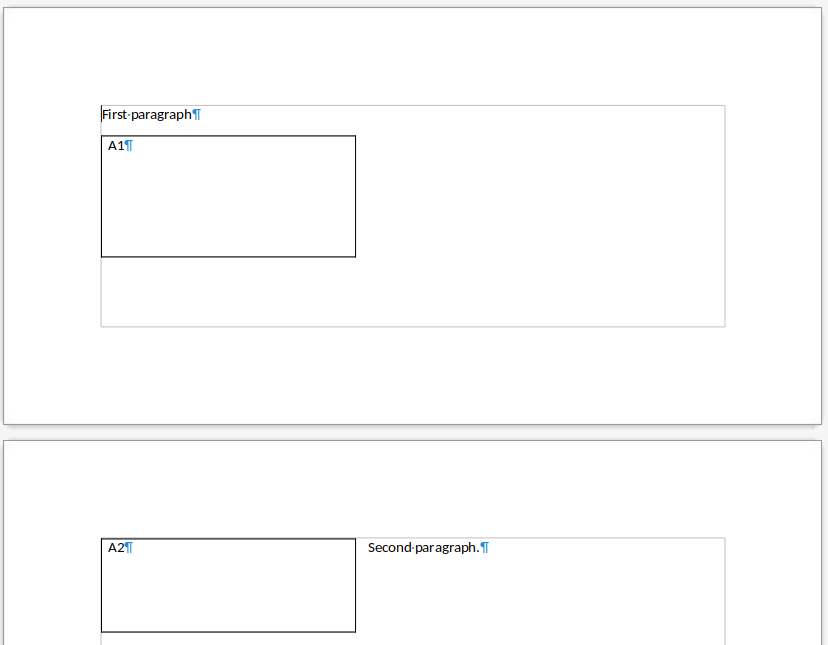
Here are some screenshots from the improvements this month:
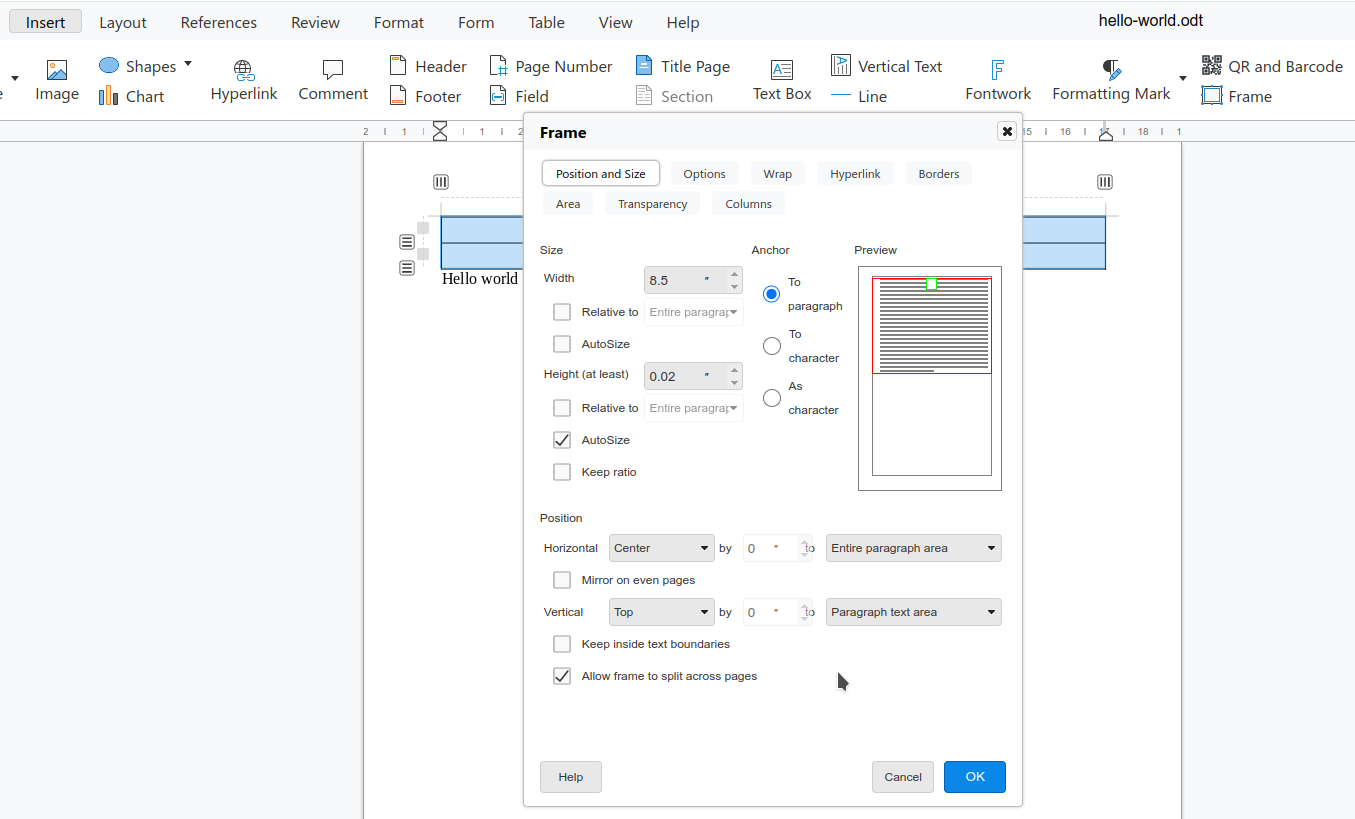
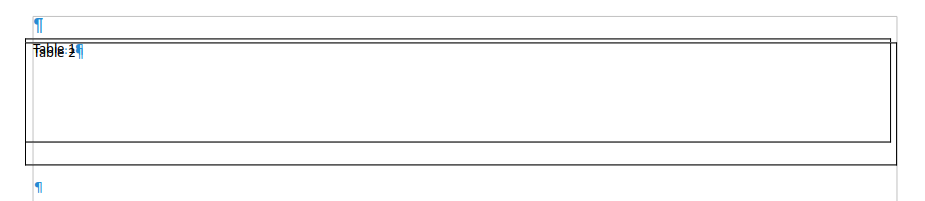
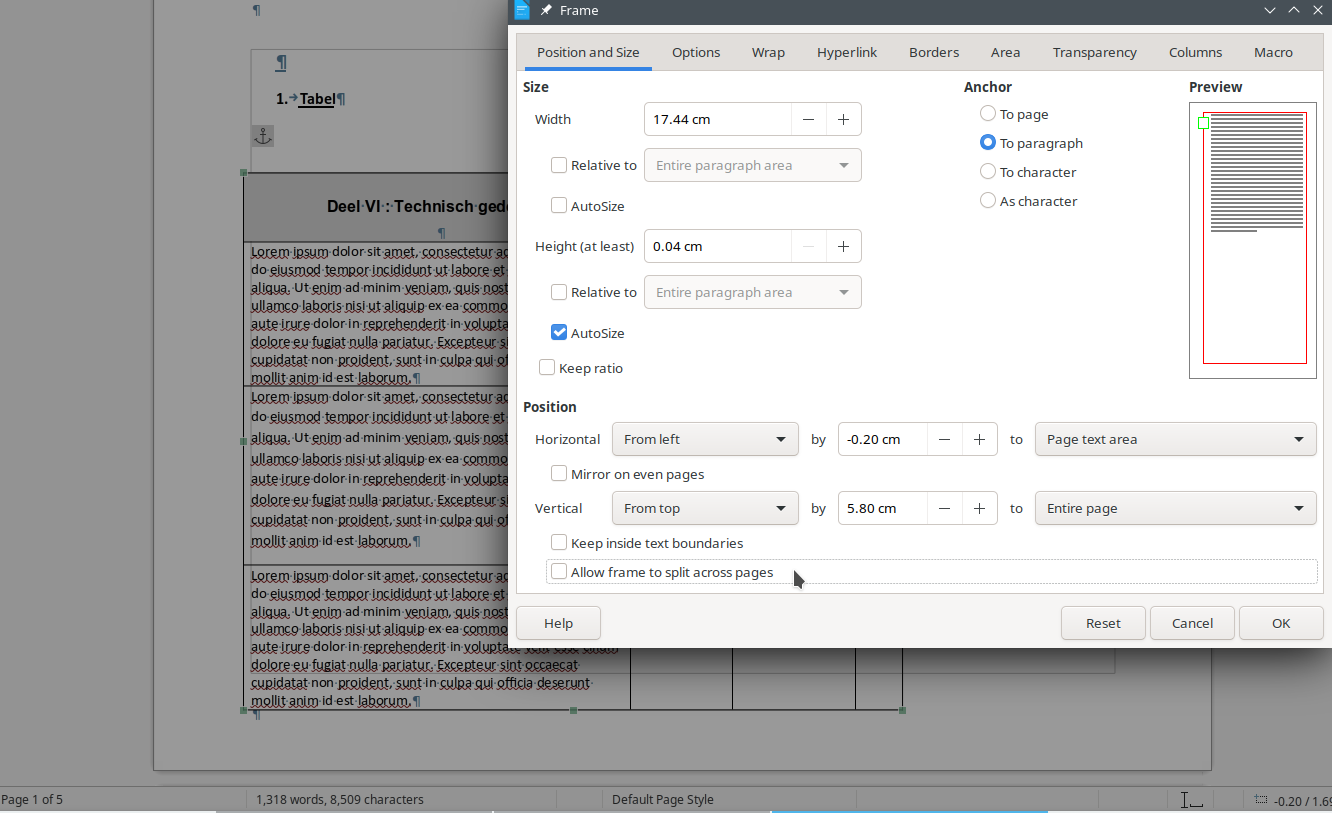
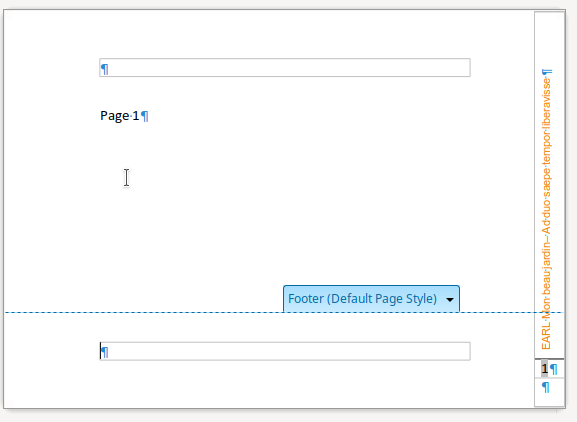
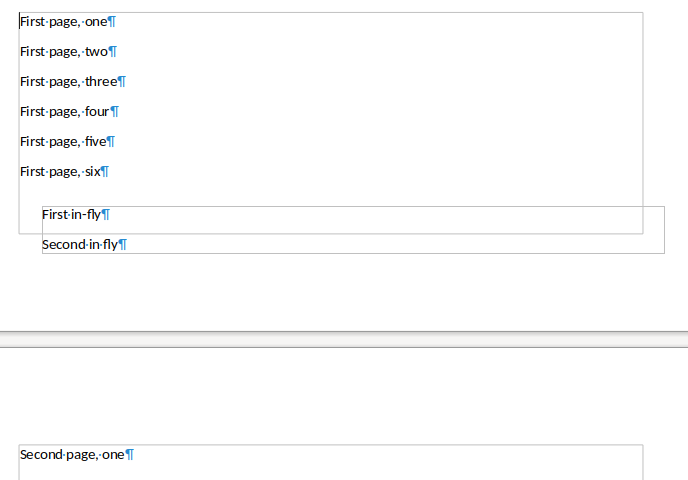
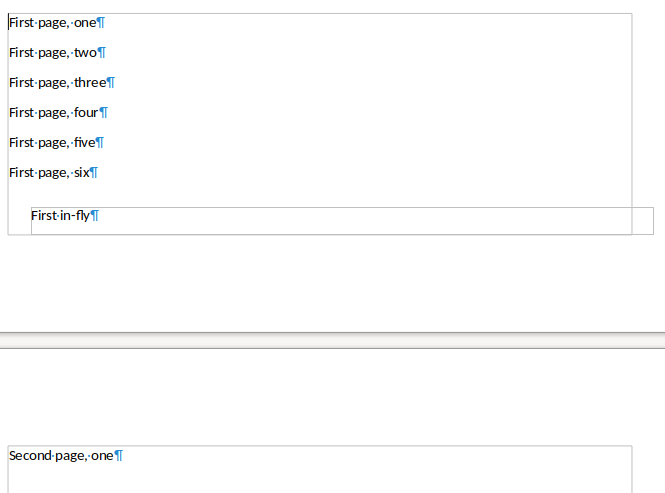
The first screenshot shows that the underlying LibreOffice Insert Frame dialog is now async (compatible with collaborative editing) and is now exposed in the Collabora Online notebookbar.
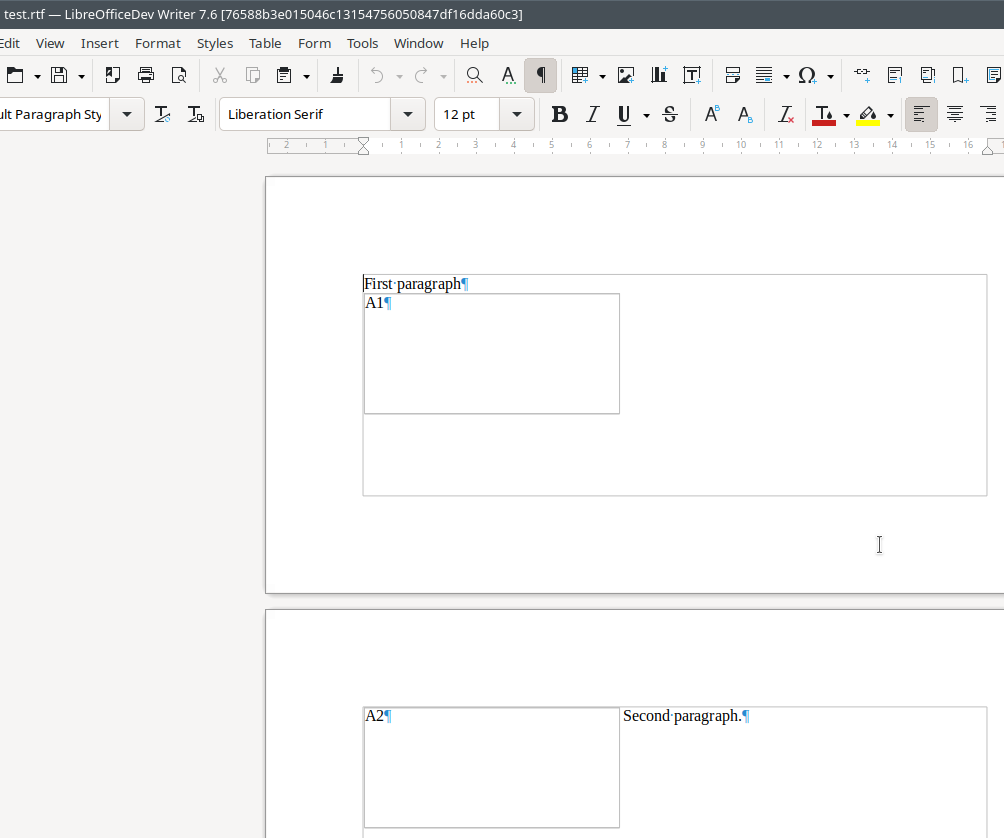
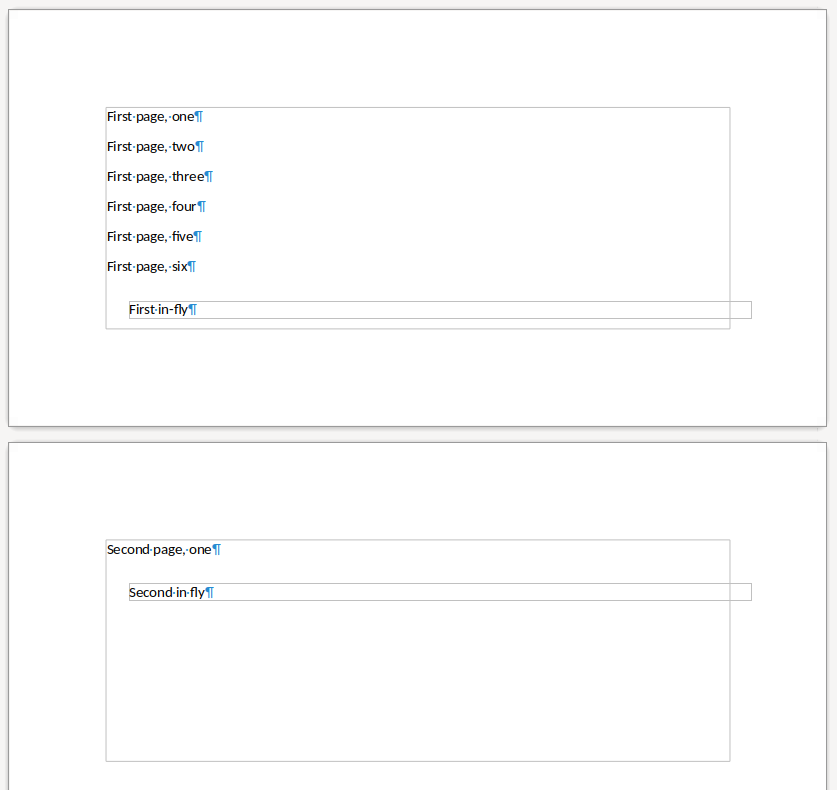
There were other improvements as well, so in case you select a whole table and insert a new frame, the result is close to what the DOCX import creates to floating tables. This includes a default frame width that matches the table width, and also disabling frame borders, since the table can already have one.

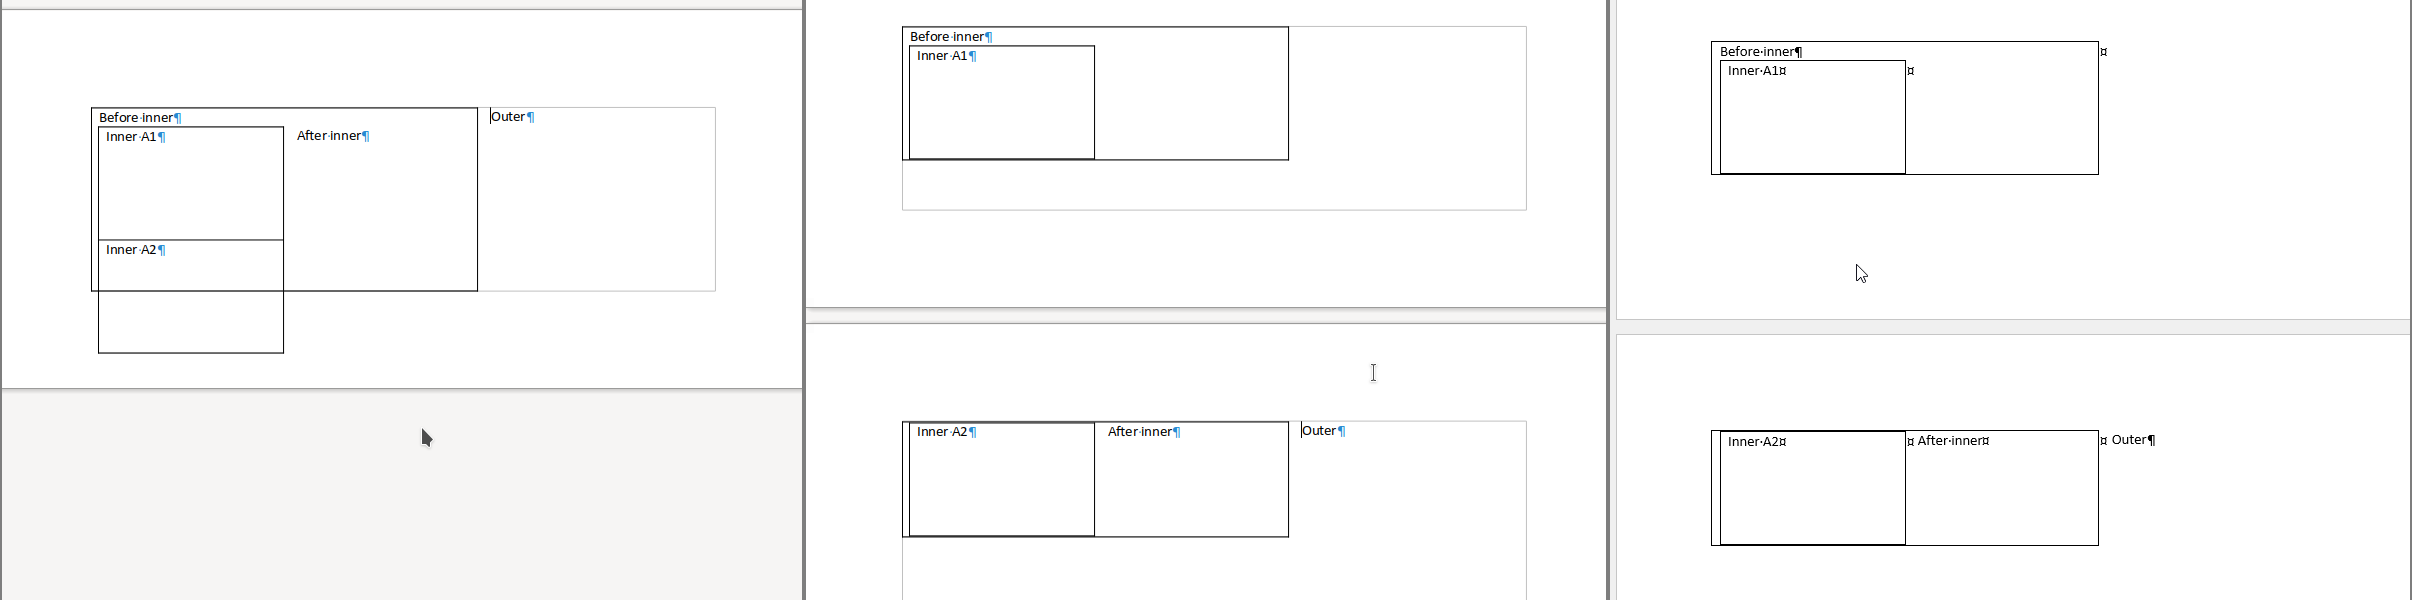
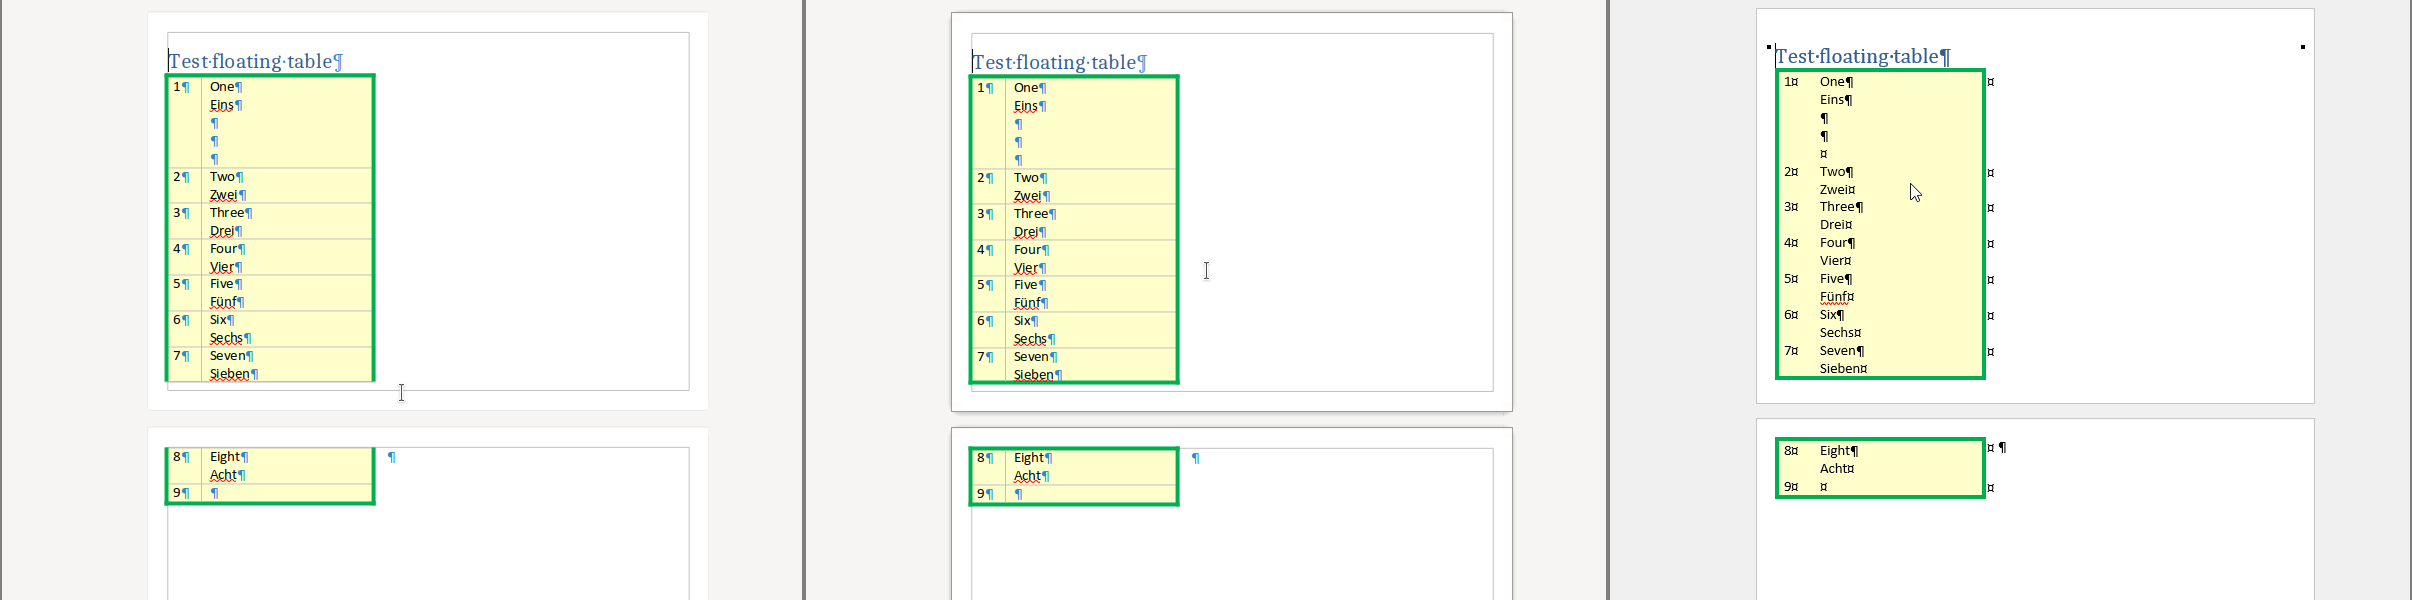
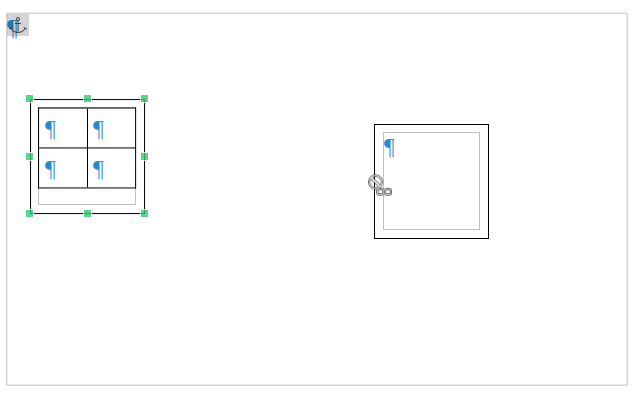
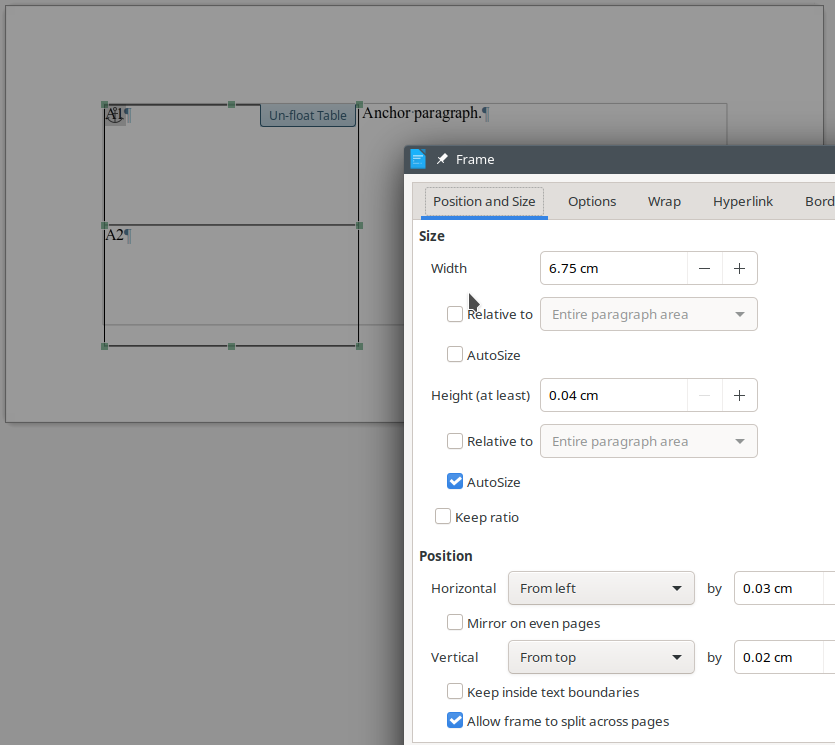
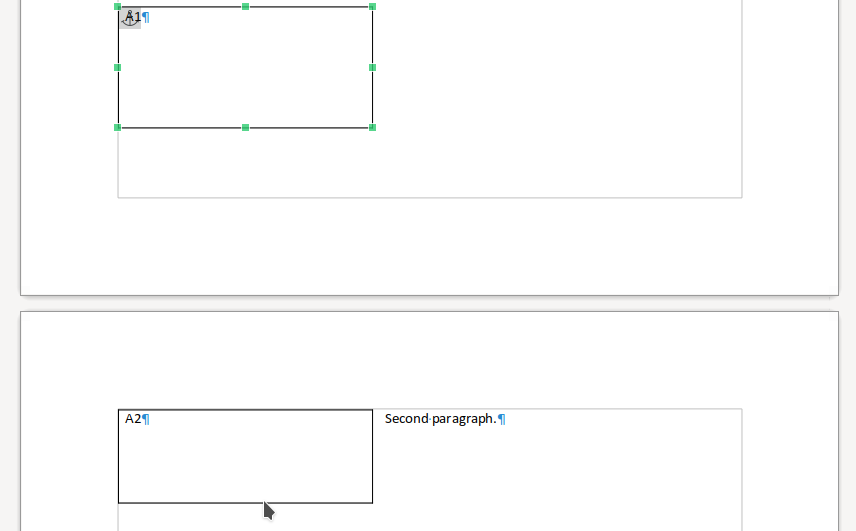
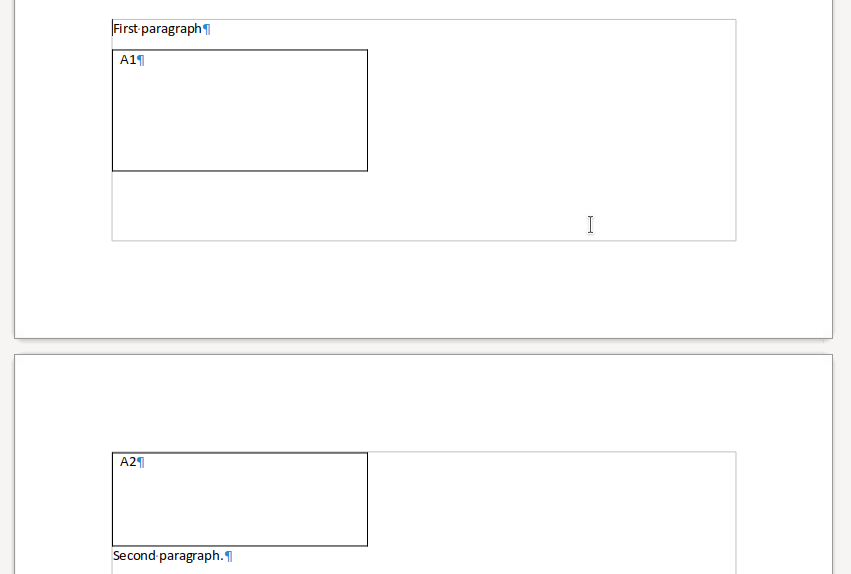
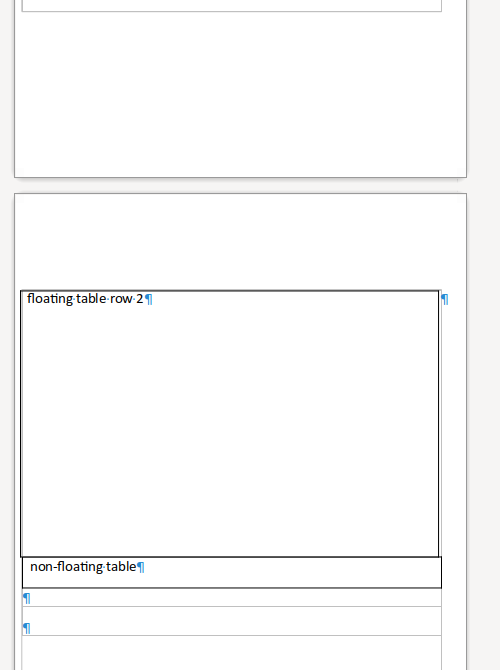
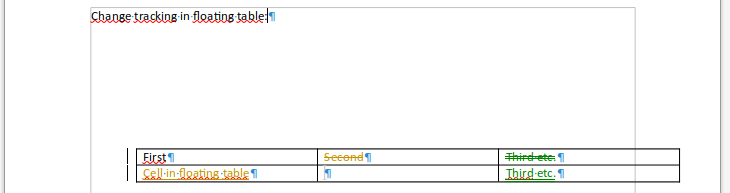
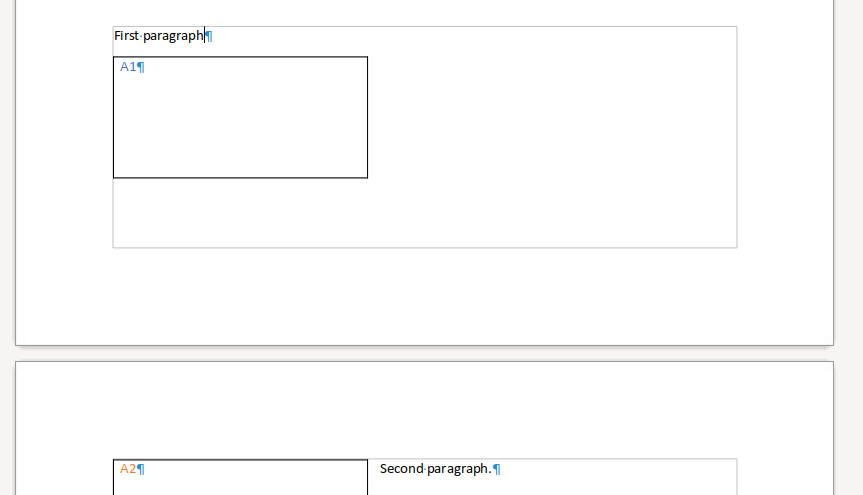
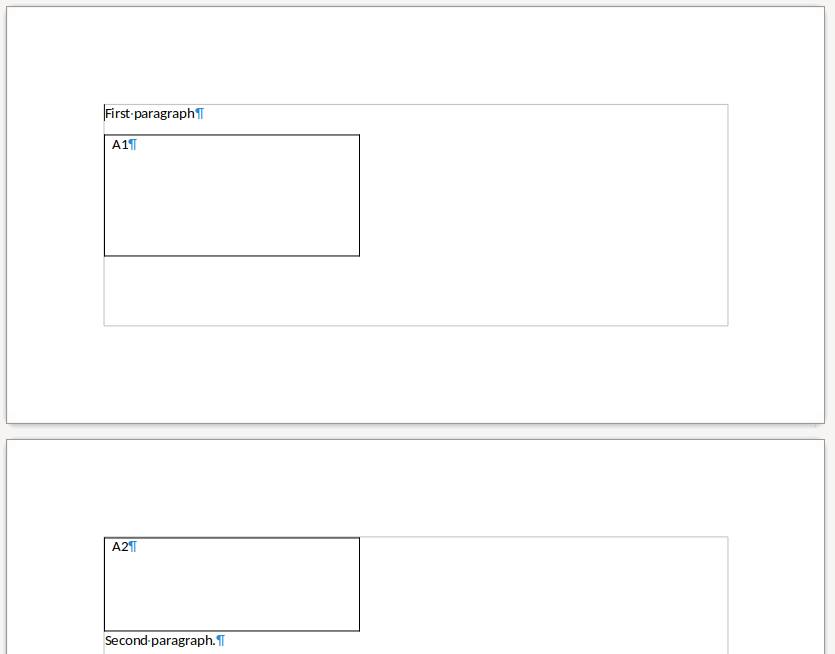
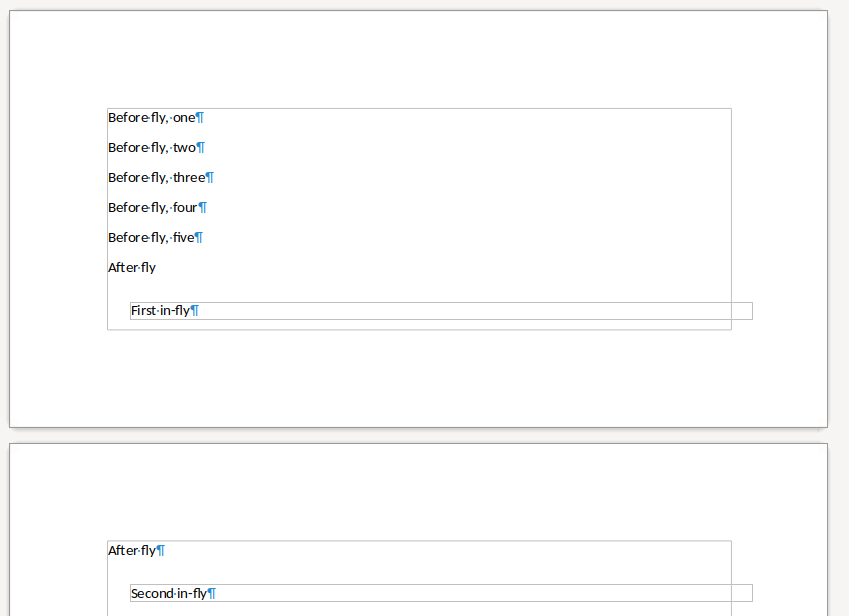
The next screenshot shows an inserted floating table, where the context menu allows updating the properties of an already inserted floating table, and also allows to delete ("unfloat") it.
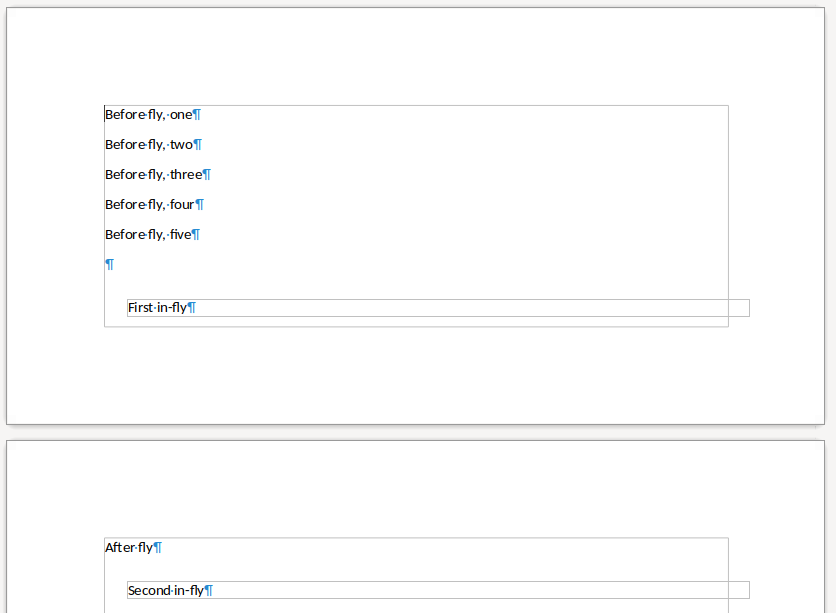
Several of these changes are shared improvements between LibreOffice and Collabora Online, so everyone benefits. For example, inserting a frame when a whole table was selected also cleared the undo stack, which is now fixed. Or unfloating table was only possible if some part of the table was clipped, but now this is always possible to do.
How is this implemented?
If you would like to know a bit more about how this works, continue reading... :-)
As usual, the high-level problem was addressed by a series of small changes:
- sw floattable: make Insert Frame dialog async and mark it as a jsdialog
- tdf#99822 sw floattable: testcase for objects from different cells
- sw floattable, insert UI: fix default frame width when inserting a new one
- sw floattable, insert UI: inherit fly width from selected table width
- sw floattable, insert UI: allow direct creation of floating tables
- sw floattable, insert UI: default to at-char for non-split flys
- sw floattable, insert UI: fix missing undo/redo
- sw floattable, insert UI: fix unexpected border and spacing
- sw floattable: link ODF proposal
- tdf#157911 sw floattable: fix inconsistent inferred bottom border on split
- sw floattable, delete UI: fix unfloat button for cant-split frames
- sw floattable, delete UI: add an uno command to unfloat frame from context menu
- sw floattable, delete UI: fix undo/redo
- sw floattable: fix crash by trying harder to split tables
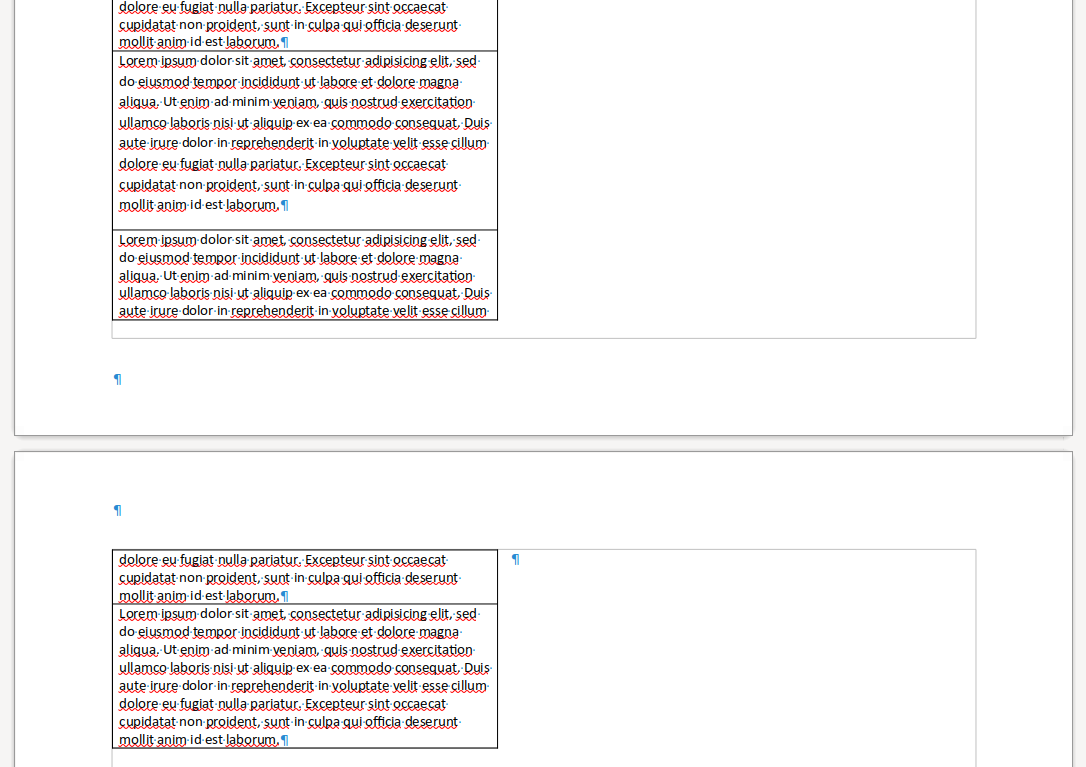
- sw floattable: add per-frame wrap-on-all-pages mode
- sw floattable, per-frame wrap-on-all-pages mode: add UNO API
- sw floattable, per-frame wrap-on-all-pages mode: add layout
- sw floattable, per-frame wrap-on-all-pages mode: add ODT filter
- tdf#158341 sw floattable: fix layout loop when fly is below the body frame
Want to start using this?
You can get a snapshot / demo of Collabora Office 23.05 and try it out yourself right now: try the unstable snapshot. Collabora intends to continue supporting and contributing to LibreOffice, the code is merged so we expect all of this work will be available in TDF's next release too (24.2).